As my previous thread suggested I was preparing to go all out. I am in the middle of some vacation time with nothing to do so I figured why not. I started on Thursday 11/21 and boy did I make a close call before the weather came in!! I will introduce each product I used as I make the steps down the line.
1.)
I began by washing the car down in dawn. I also removed my clear bra as it has been on the car nearly 2 years and I really wanted to condition the paint underneath. I will probably buy a new one here soon
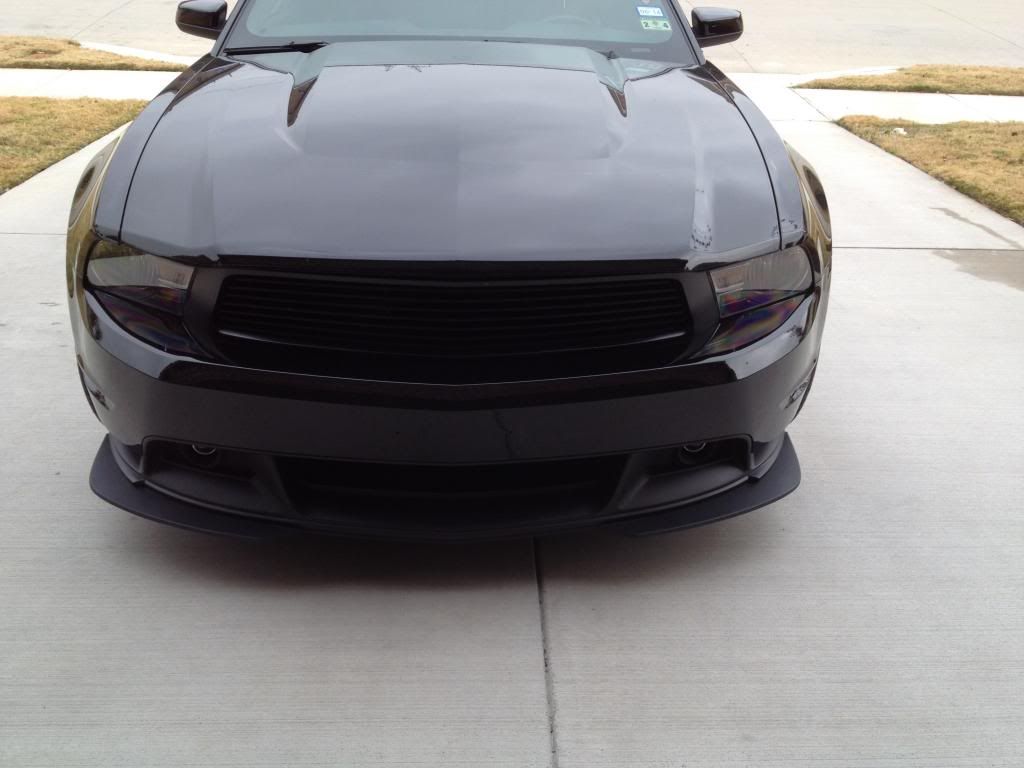
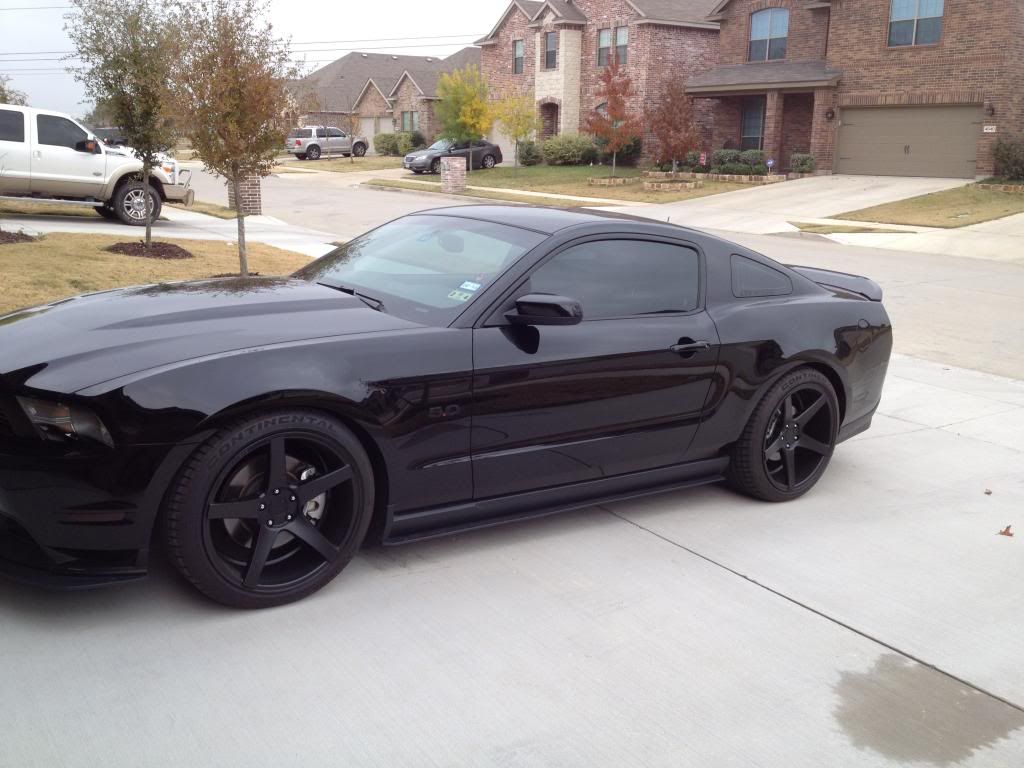
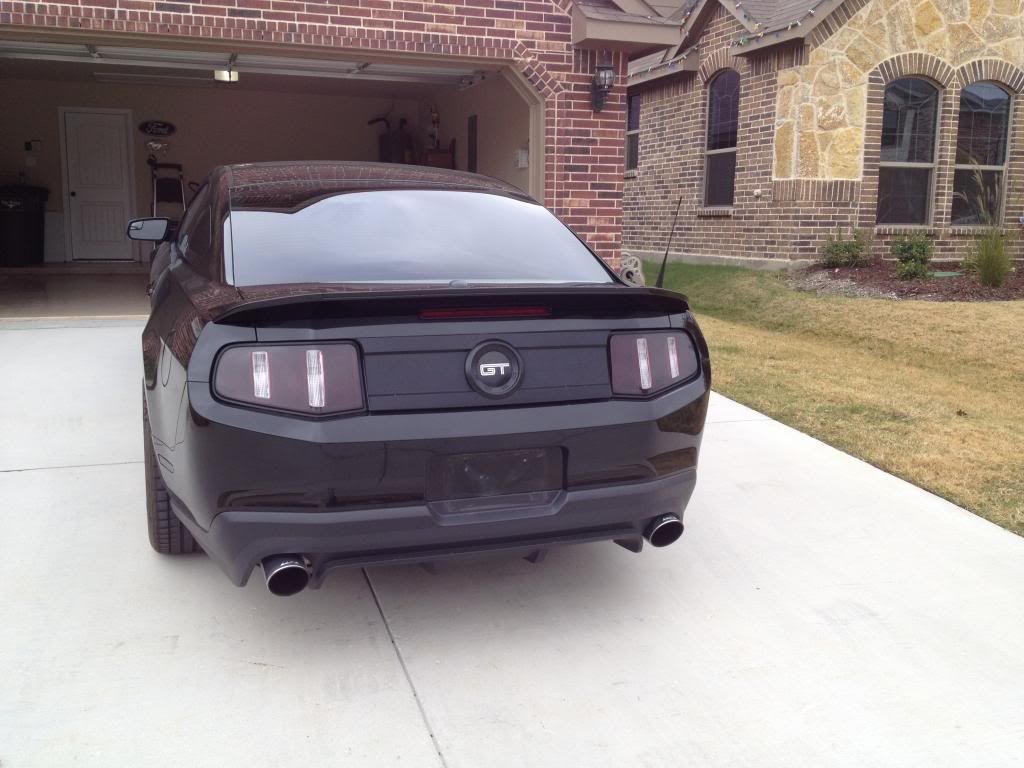
Some before wash pics. It is kinda hard to see the dirt one I just washed it last week and two it was a gloomy day as the storms are on the way.
2.)
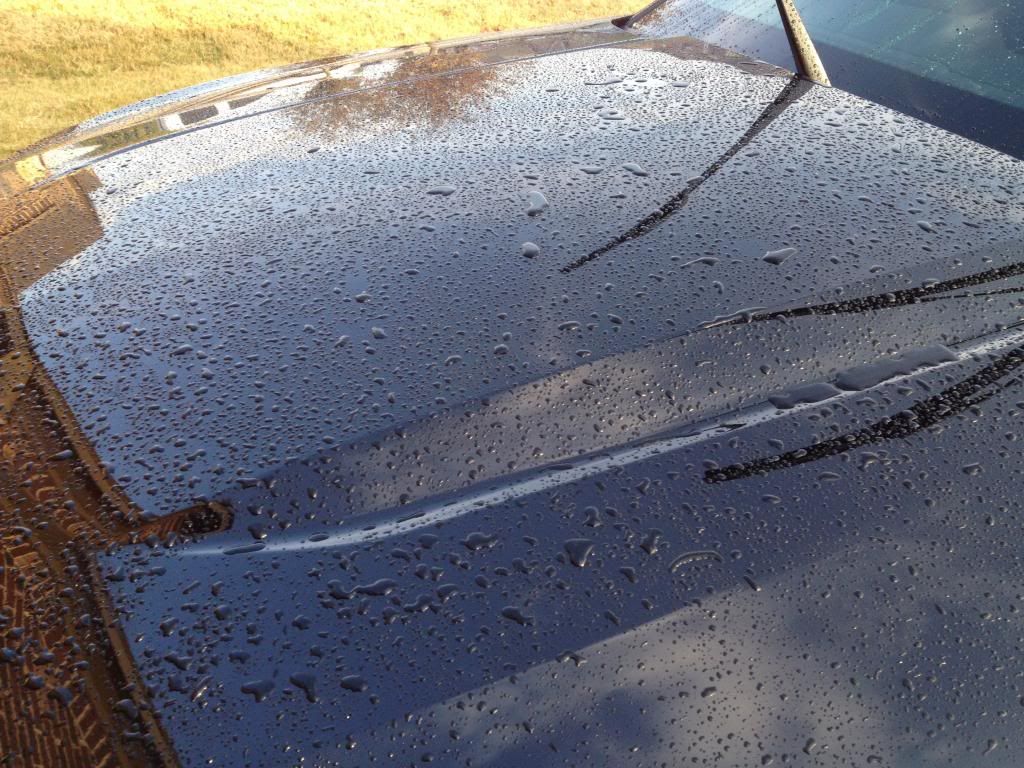
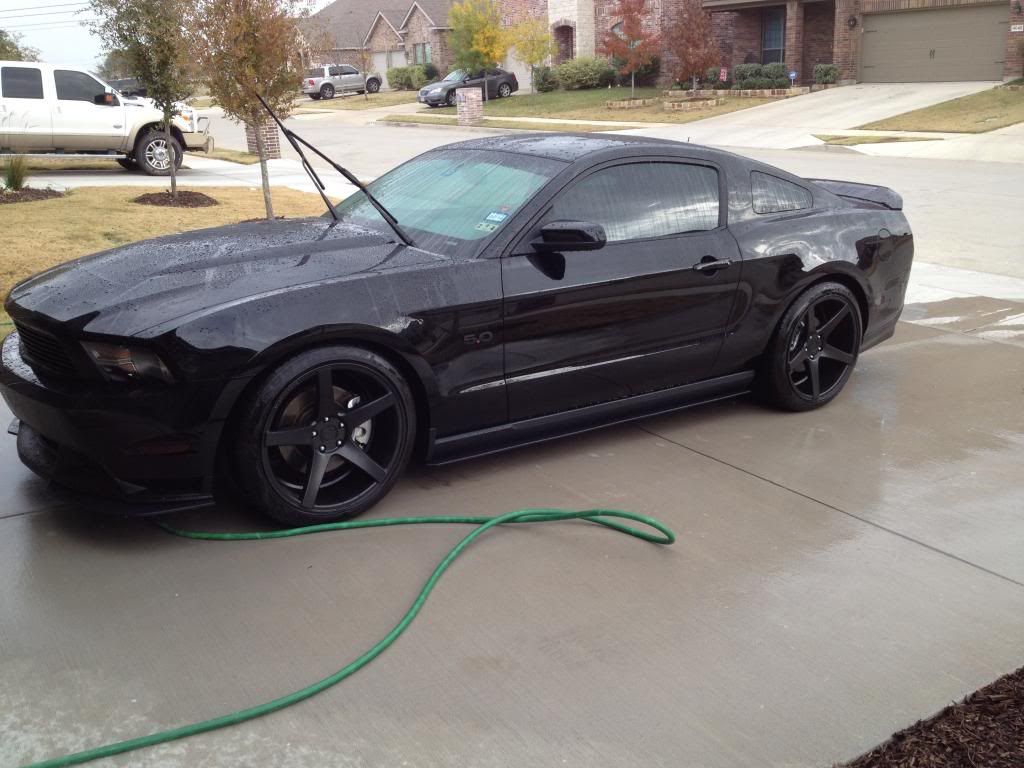
Let the wash begin! I am using dawn to cut through any tough grime as well as remove any left over wax / sealants on the paint to start from the bare paint. As you can see the water on the top of the car is hardly beading at all, signs of a needed coat of wax / sealant.
3.)
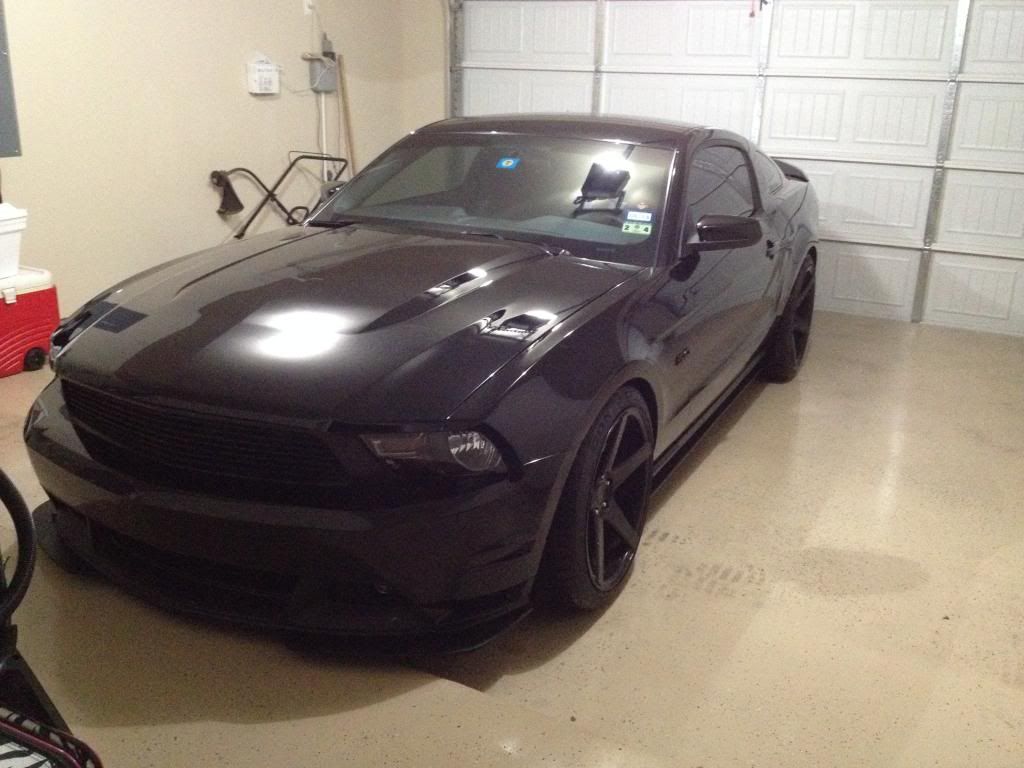
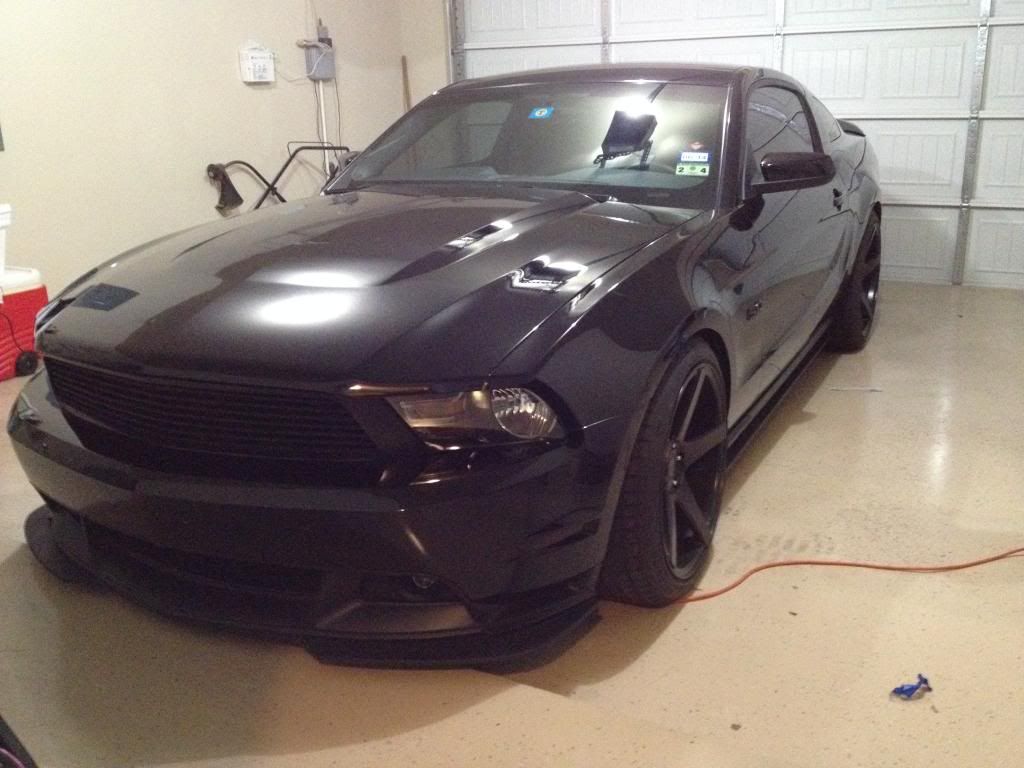
Pulled into the garage to start the fun and where it stays for the next several days. Just some shots here of the paint before any treatments at all.
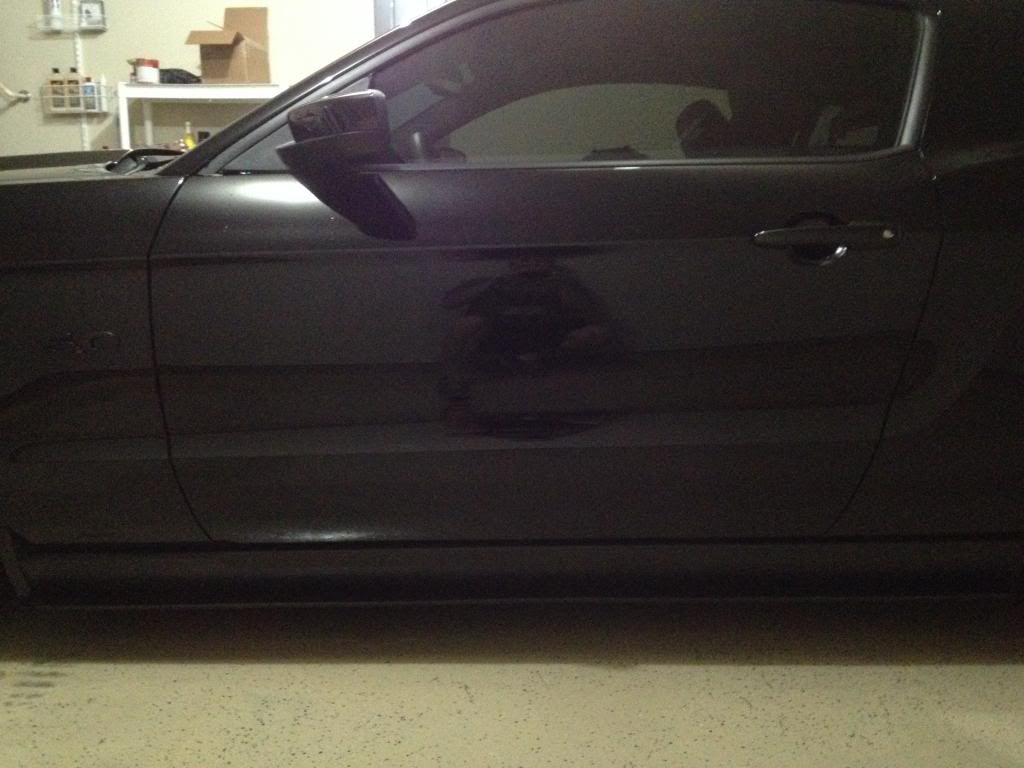
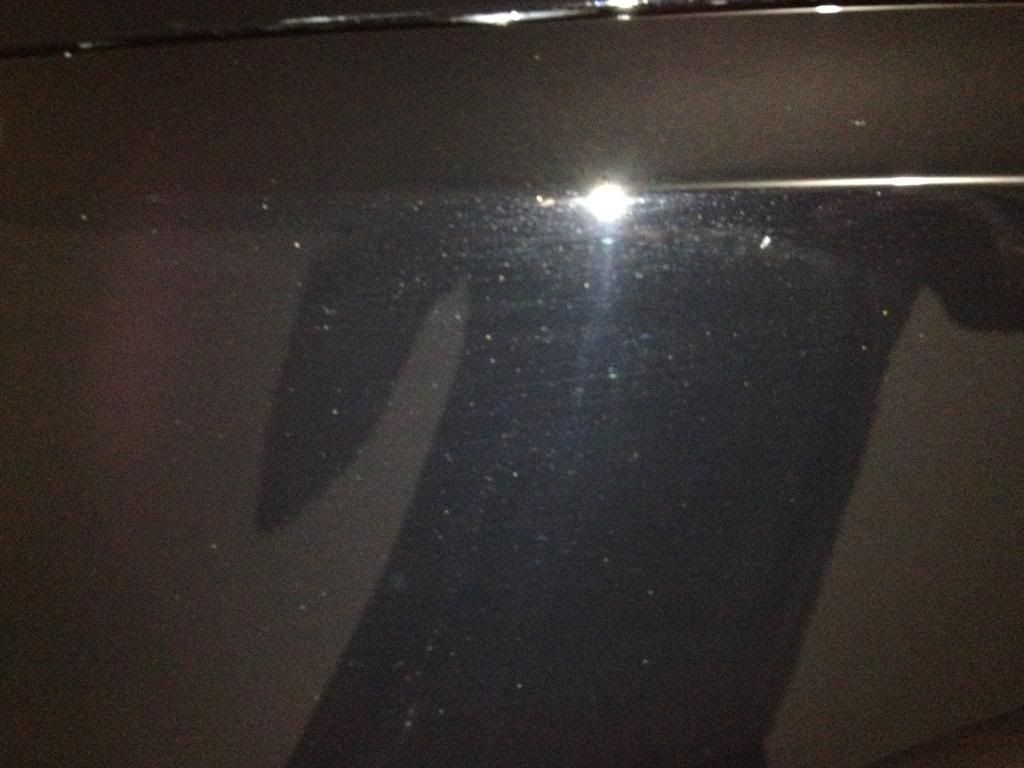
Some definite contamination in the paint:
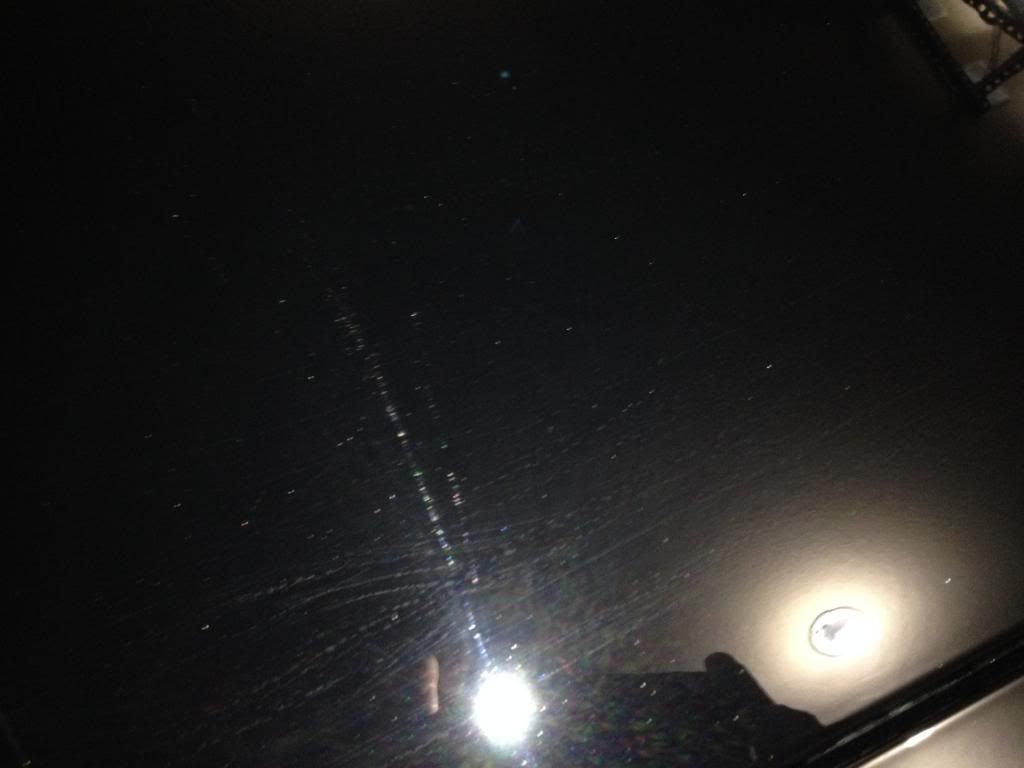
4.)
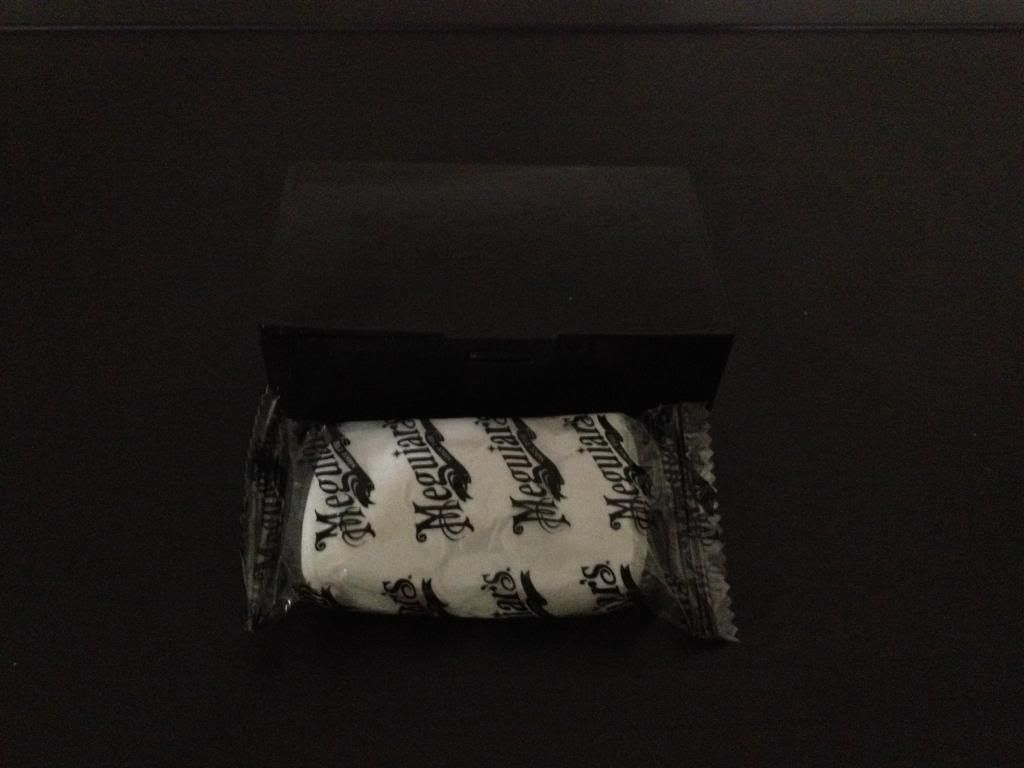
On with the clay bar! I basically used what I had here as my paint was dirty but its received two clay baring sessions in the past year so I didn't need to get really aggressive with this part, just something to simply clean the surface in preparation for polishing. So I just used a megs kit I had left over:
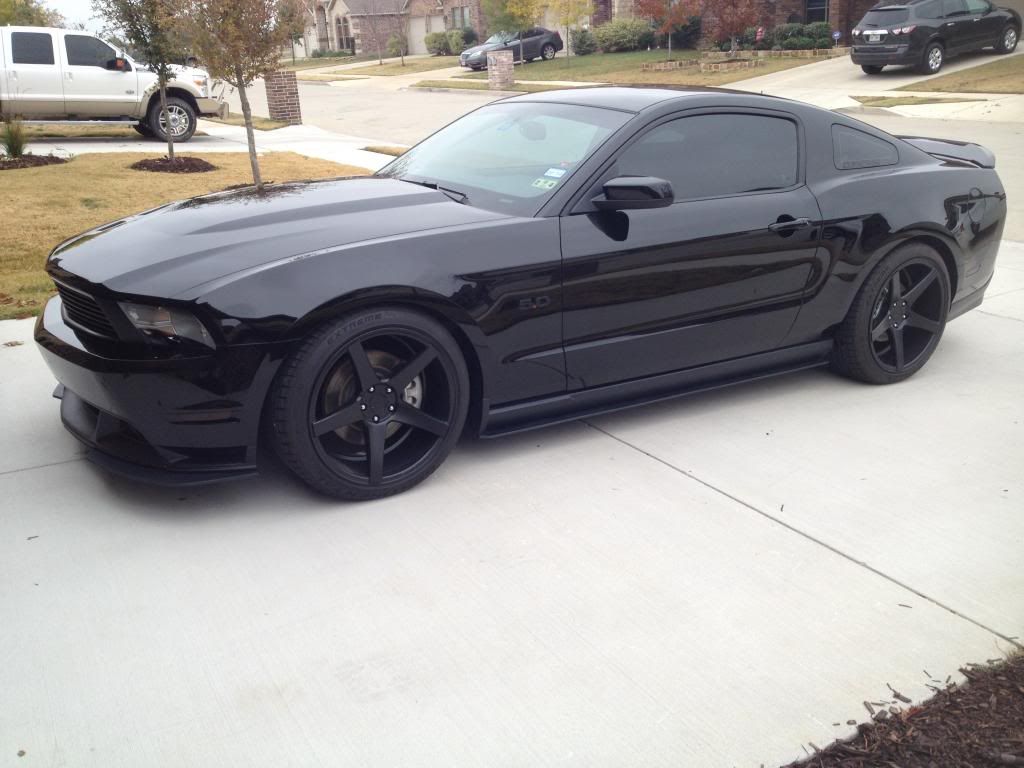
There really isn't much to see with clay baring so here are the post pics with t he paint cleaned up. Now smooth as glass! I backed it out of the garage one last time to take some pics before moving it back in for the next few days.
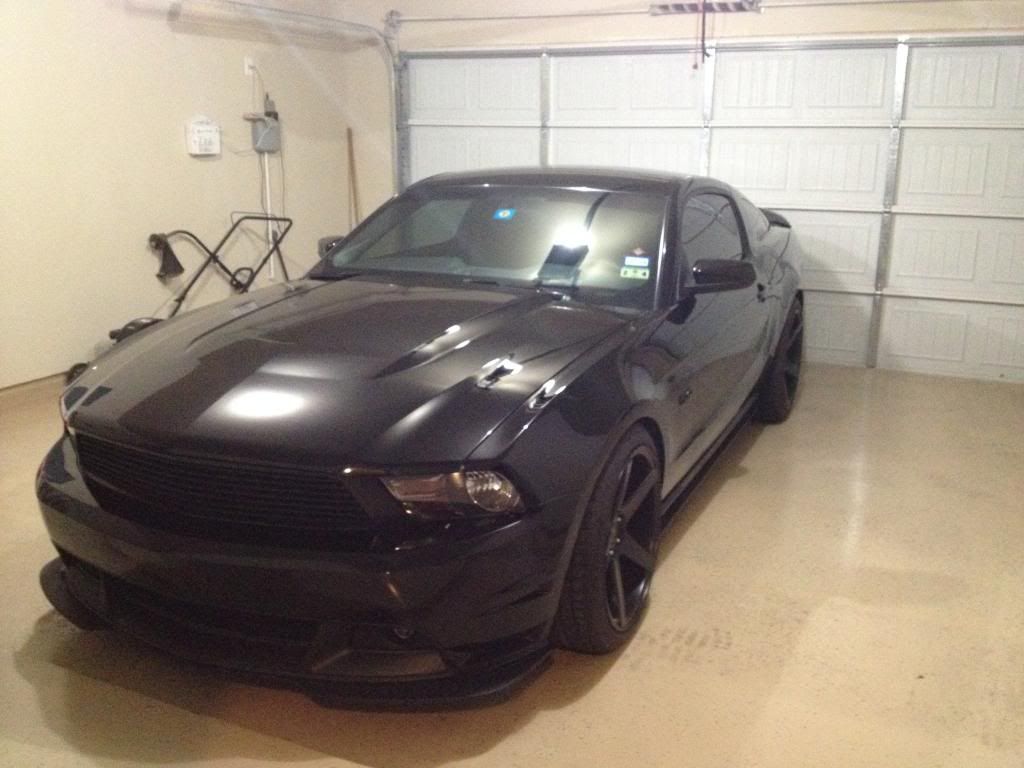
In for the night. Polishing begins tomorrow:
5.)
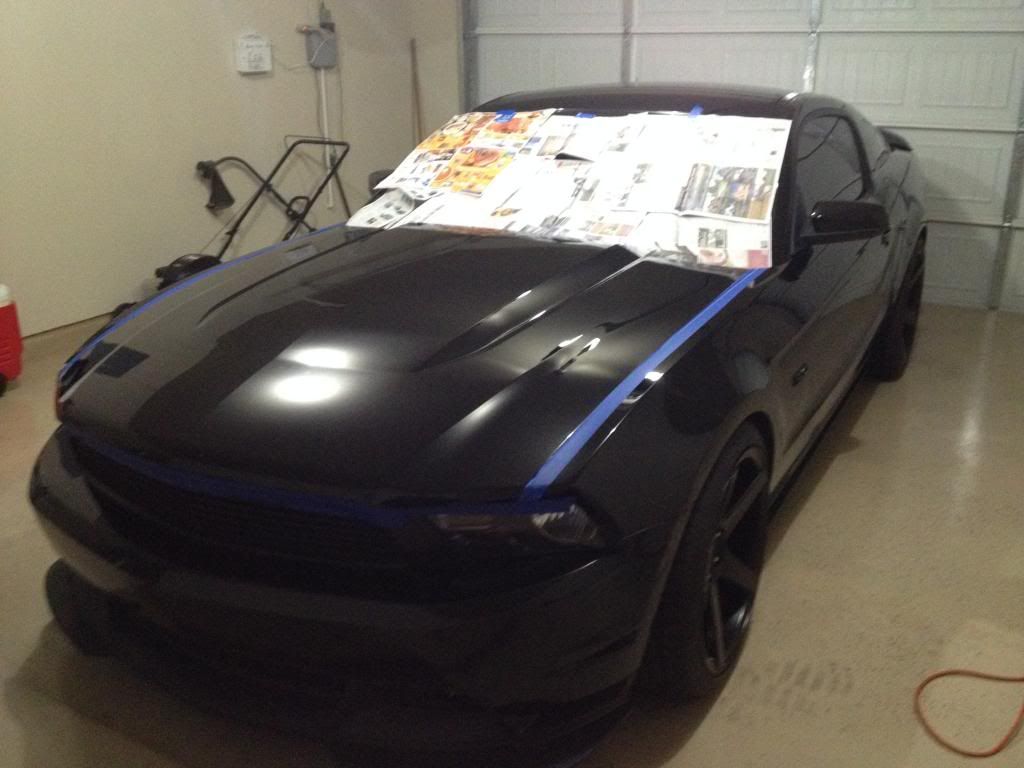
Taping off the body lines where panels meet in preparation for polish. The megs kit 105 compound makes a lot of dust when polishing so I like to tape off as much as possible to prevent wax dust from getting in areas that are hard to remove it from.
6.)
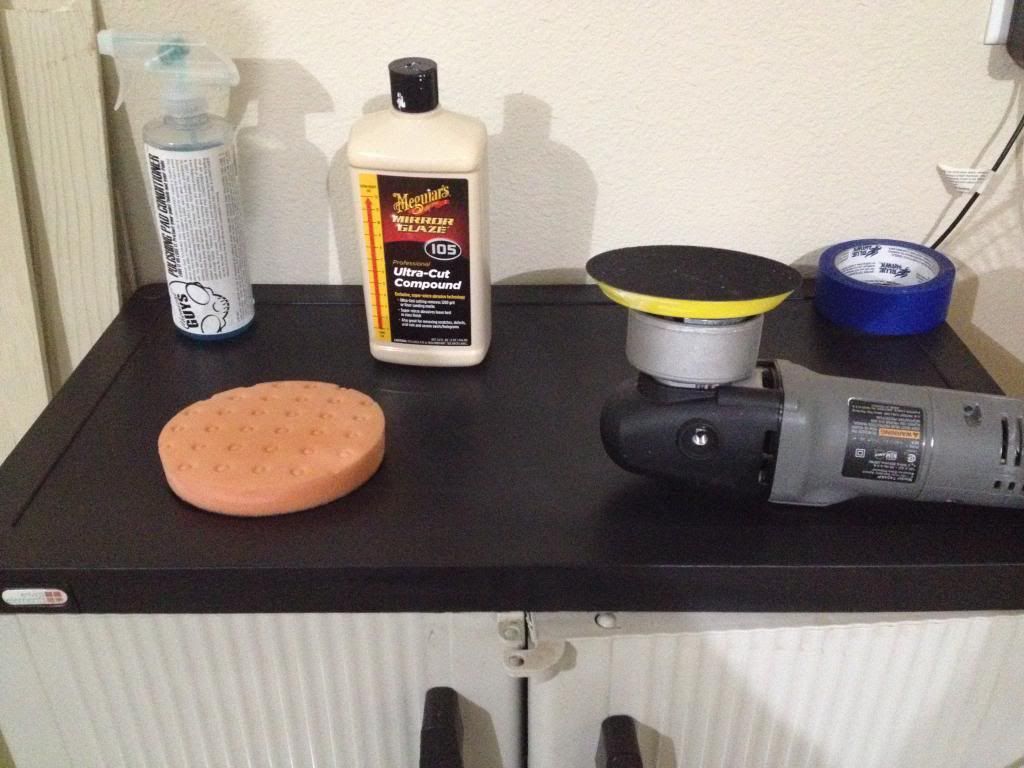
The first round of the arsenal:
* Megs 105 Ultra Cut Compound, designed for removing swirls and other minor defects like oxidation, and mild scratches.
* Lake County 'Orange' 6.5" polishing pad for light-medium cutting applications.
* Porter Cable 7424 XP Dual action Orbital Polisher
* Some Pad conditioner from Chemical guys to prime the pad. This is an important step as it restores the intended condition of the pad as well as prevents any dry polishing so you don't burn your paint.
7.)
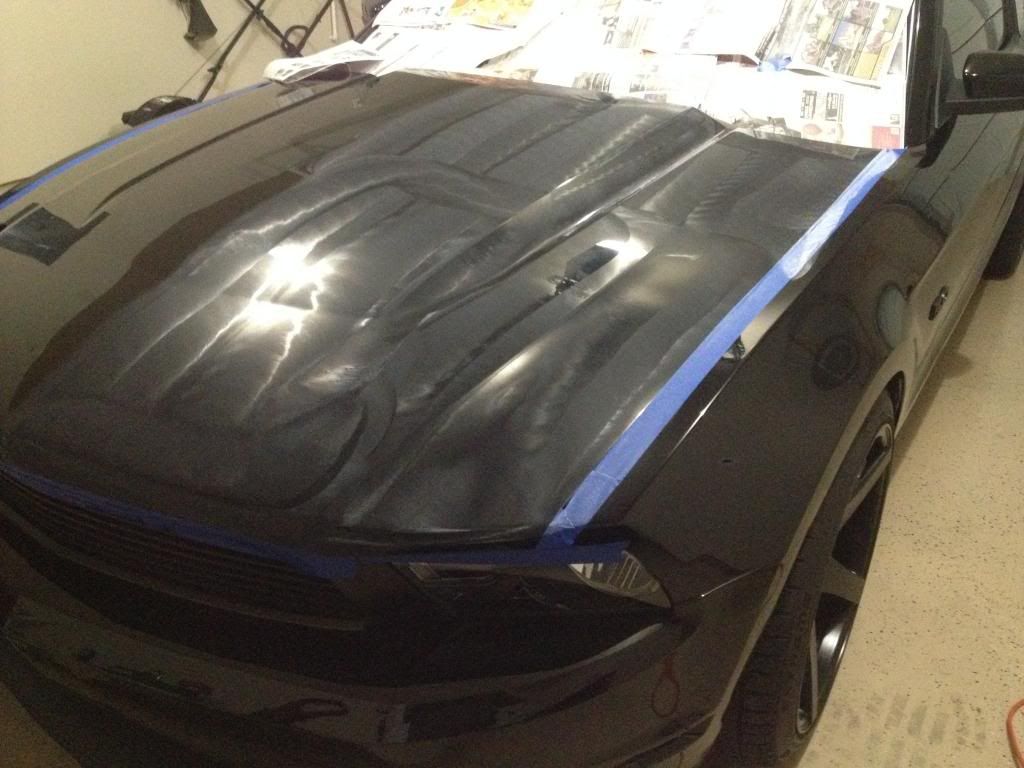
Let the polishing begin!
This is simply just a picture to show you the polish being applied. To cover this amount of space I actually separated the polishing effort into 4 sections to achieve coverage of half of my hood as seen here. Its best to buff off each round as you go with this compound because the more dry it gets the harder it becomes to buff off.
8.)
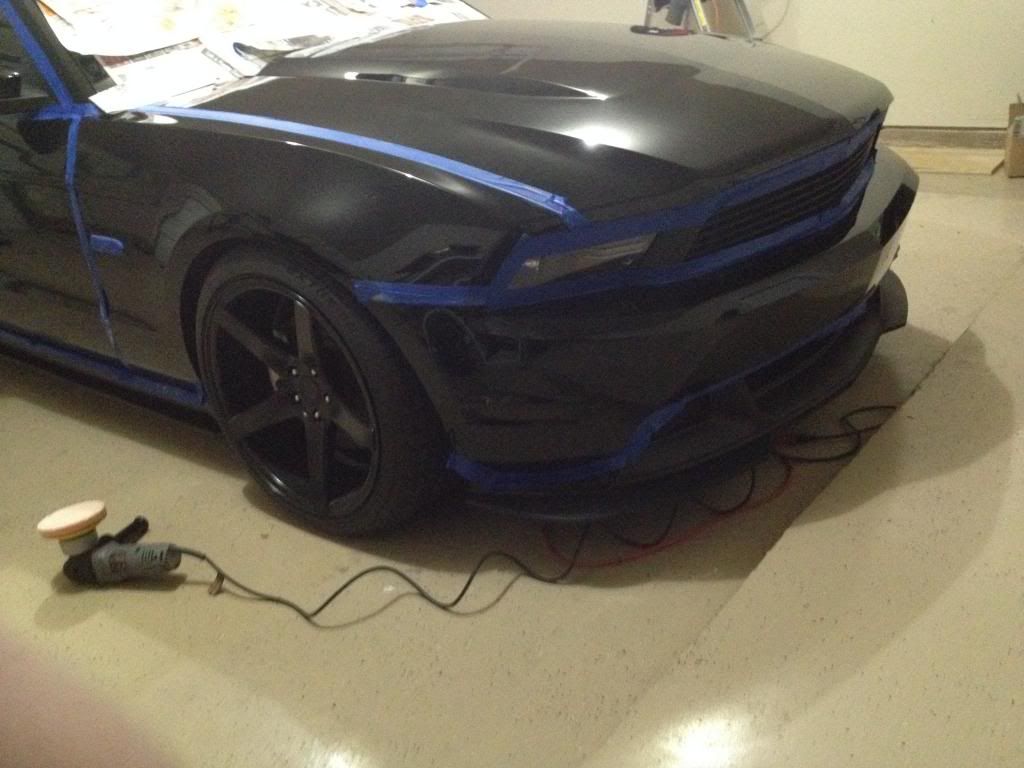
More taping off as I move to each new section. Getting this polish on the plastic pieces is a giant pain to remove.
9.)
Some pics of the first round of polishing completed. This took me about 4-5 hours to cover the entire car. Easily the most exhausting part of the job.
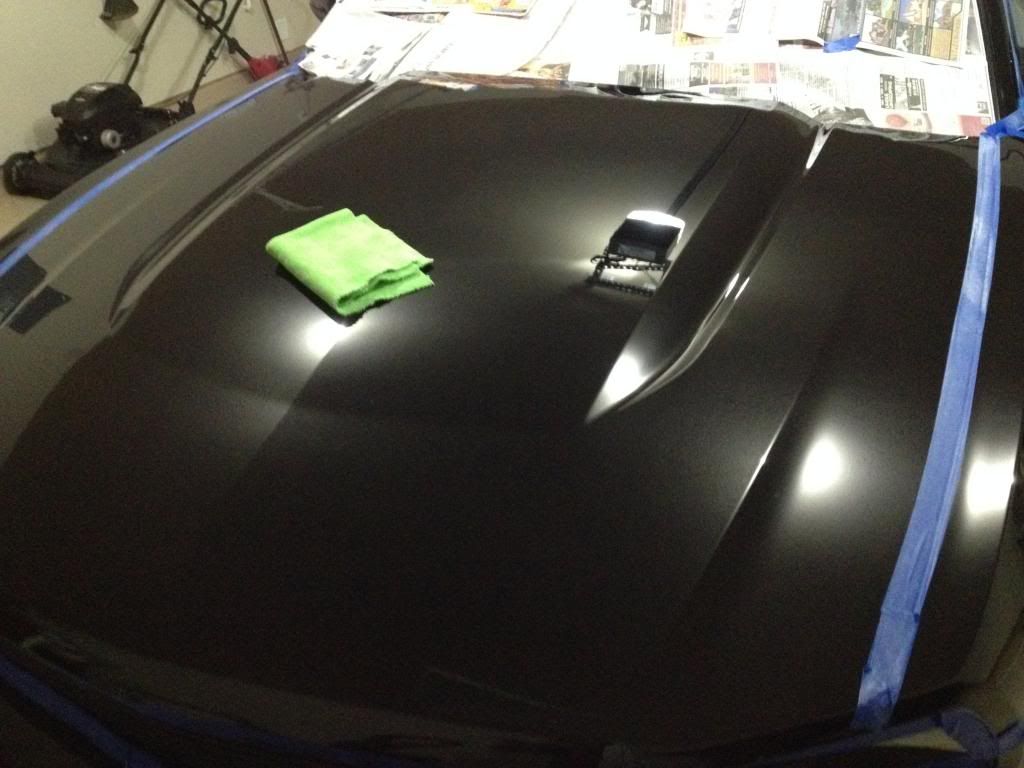
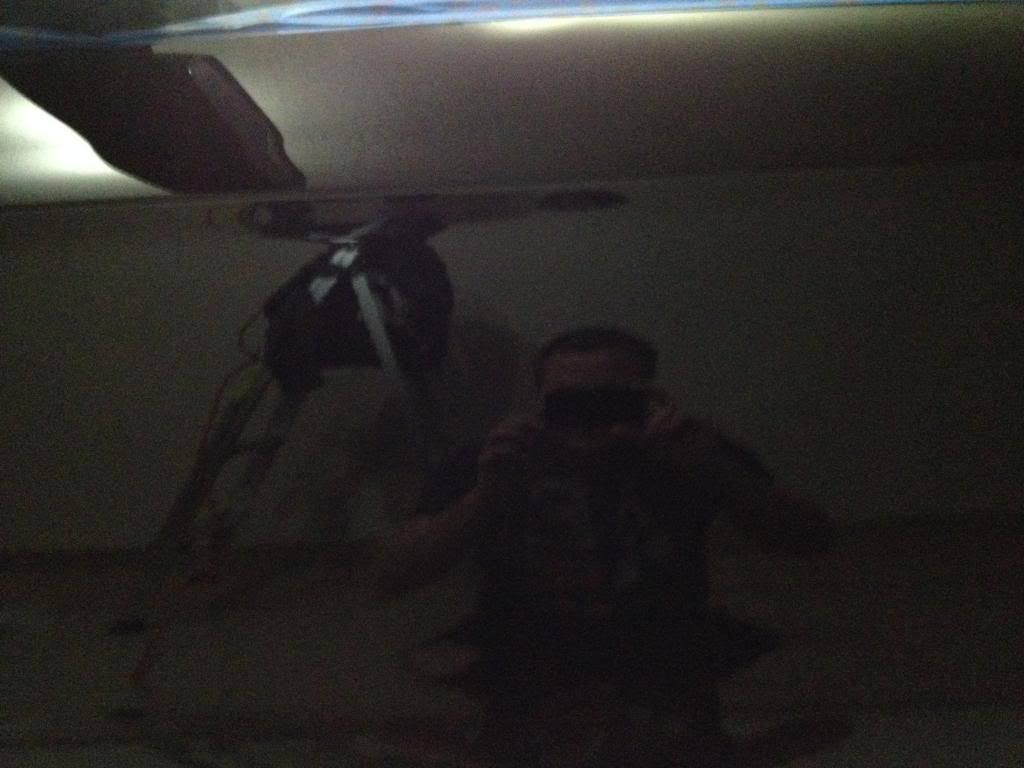
10.)
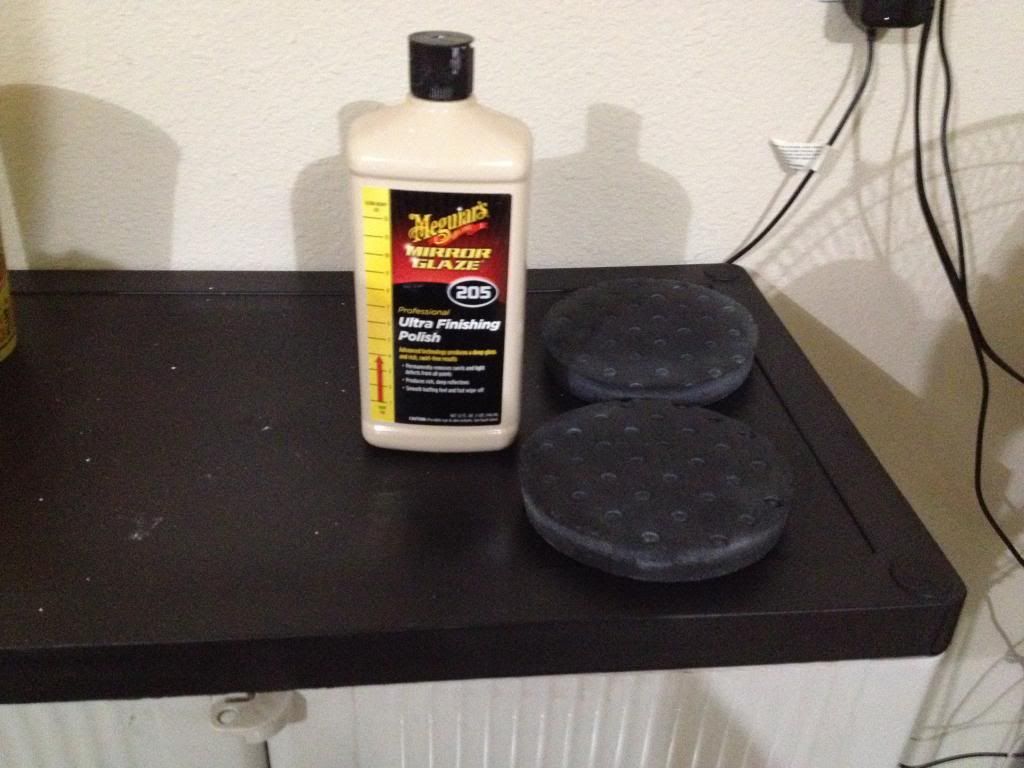
Second round of polishing:
* Megs 205 finishing compound
* Lake Country 6.5" Finishing Pad
Note: I used a total of 4 pads each on the car. Half the car was polished on each pad before discarding them. The more they become saturated with the polishing compound the less effective they are.
11.)
Progress of the 205 compound:
This is a much easier compound to work with than the 105. You can do larger sections and work faster and it creates zero dust. This part took me only 2 hours to complete
At this point I removed all the tape because it was no longer needed.
12.)
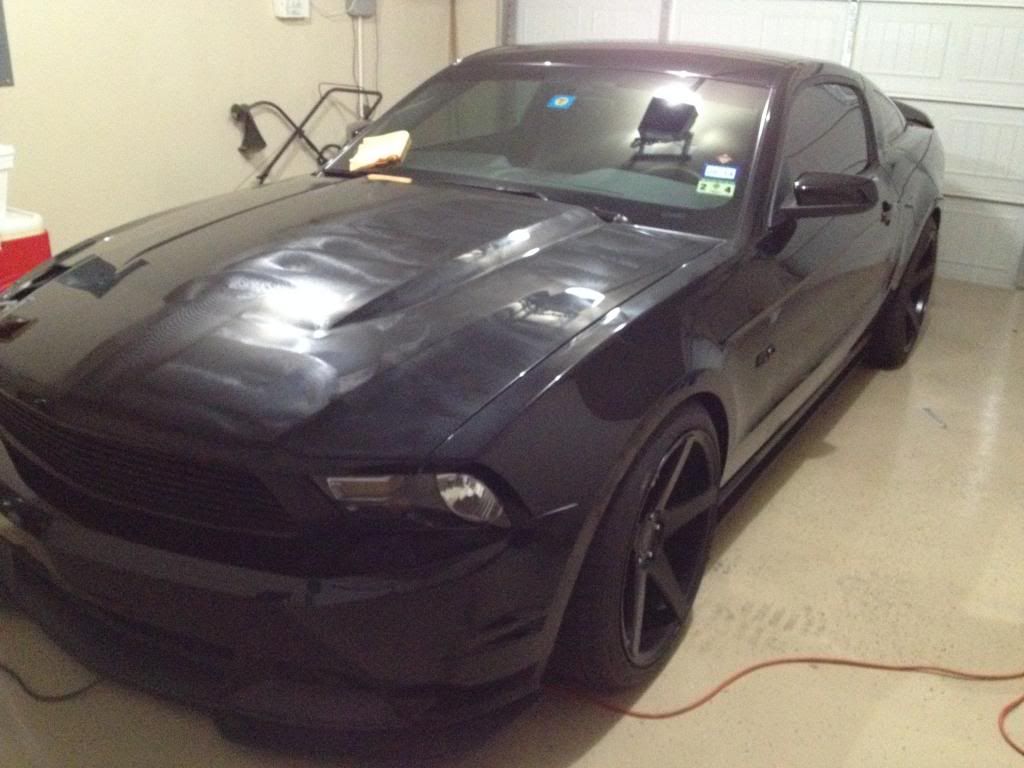
Post finishing compound pic:
To be continued on next post...