Go Back   Dallas Fort Worth 5.0 Mustang Club > Photos & Videos > Detailing


Sponsored Ads
Welcome to DFW50s.com

Register to remove these ads.


Reply
 
Thread Tools Display Modes
Old 11-26-2013, 07:27 PM   #1
Dan12GT
Senior Member
 
Dan12GT's Avatar
 
Join Date: Jul 2012
Location: Roanoke, Texas
Age: 39
Posts: 818
Default Paint Correction Completed (step by step process)

As my previous thread suggested I was preparing to go all out. I am in the middle of some vacation time with nothing to do so I figured why not. I started on Thursday 11/21 and boy did I make a close call before the weather came in!! I will introduce each product I used as I make the steps down the line.

1.)
I began by washing the car down in dawn. I also removed my clear bra as it has been on the car nearly 2 years and I really wanted to condition the paint underneath. I will probably buy a new one here soon

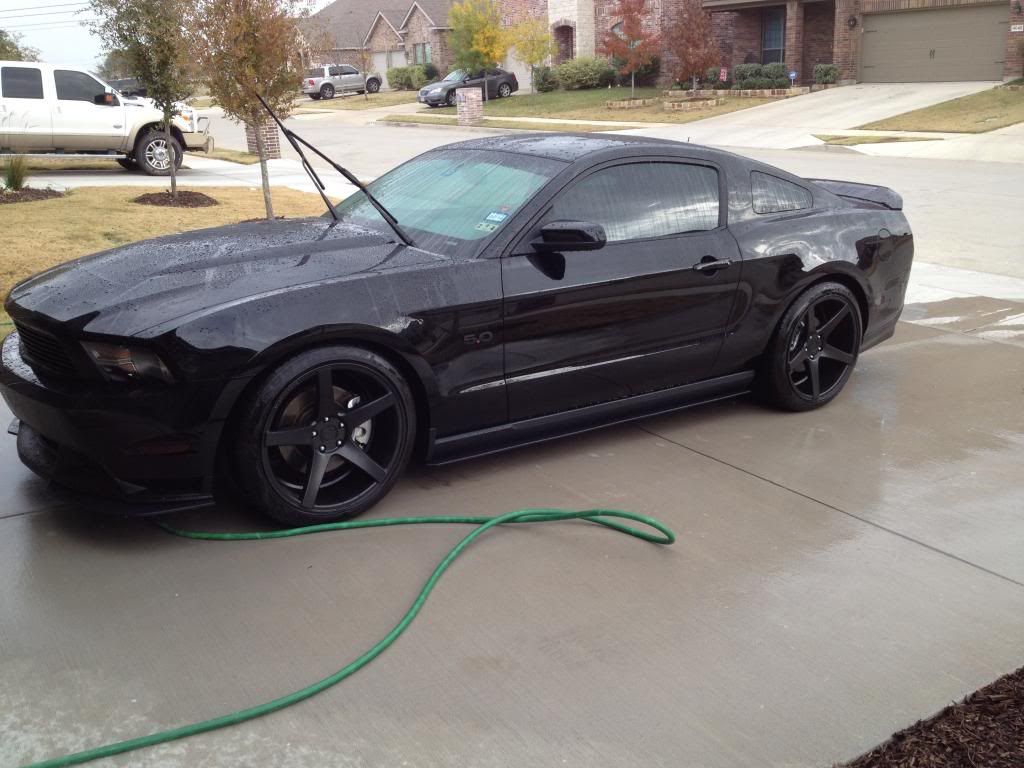
Some before wash pics. It is kinda hard to see the dirt one I just washed it last week and two it was a gloomy day as the storms are on the way.
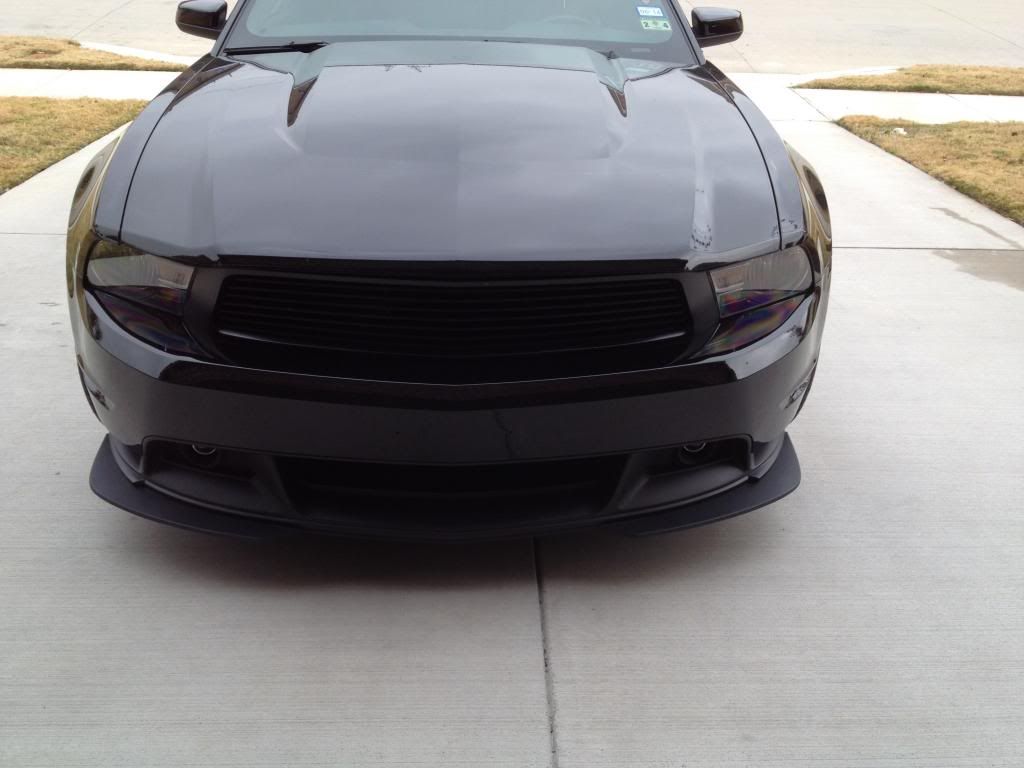
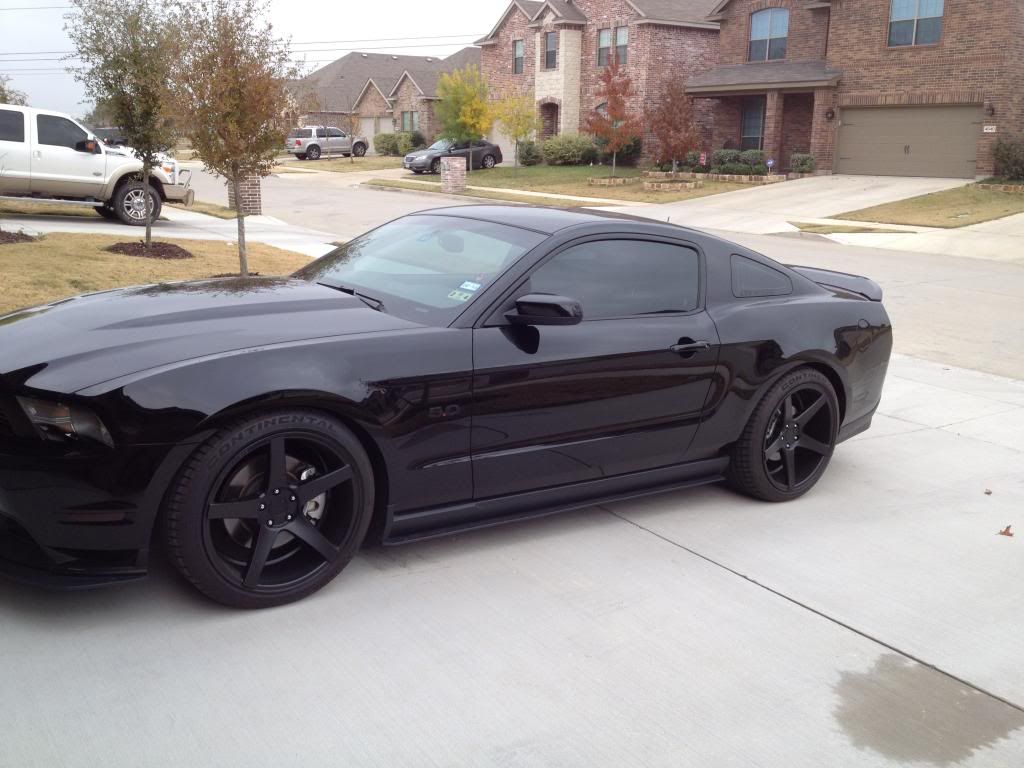
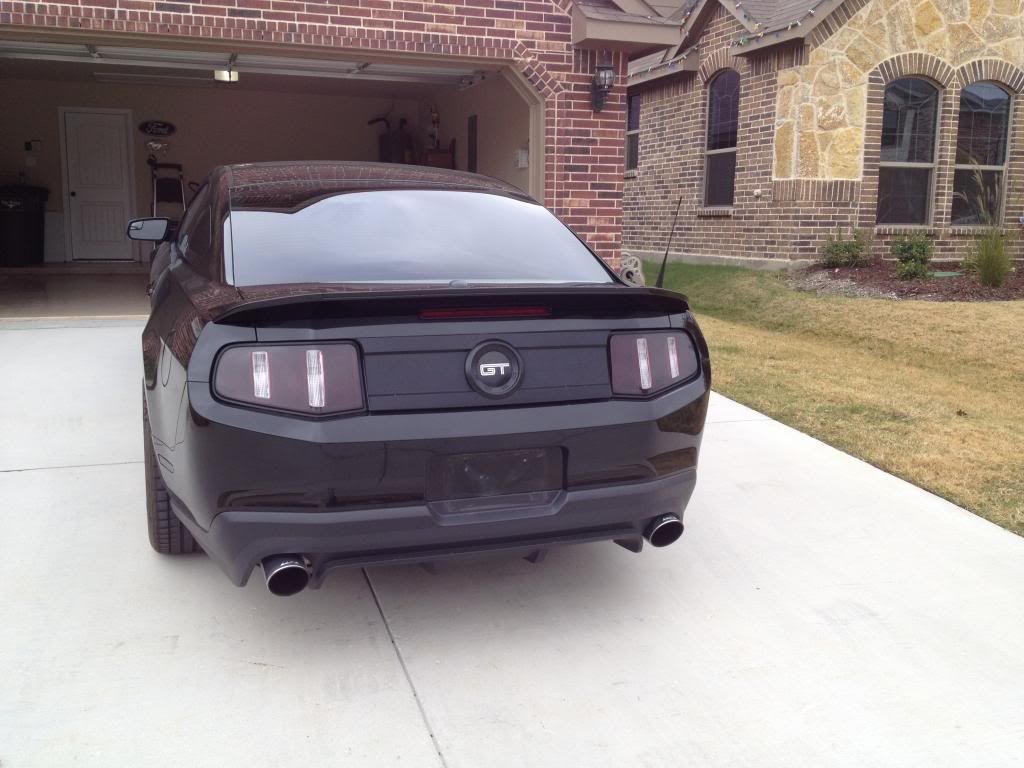


2.)
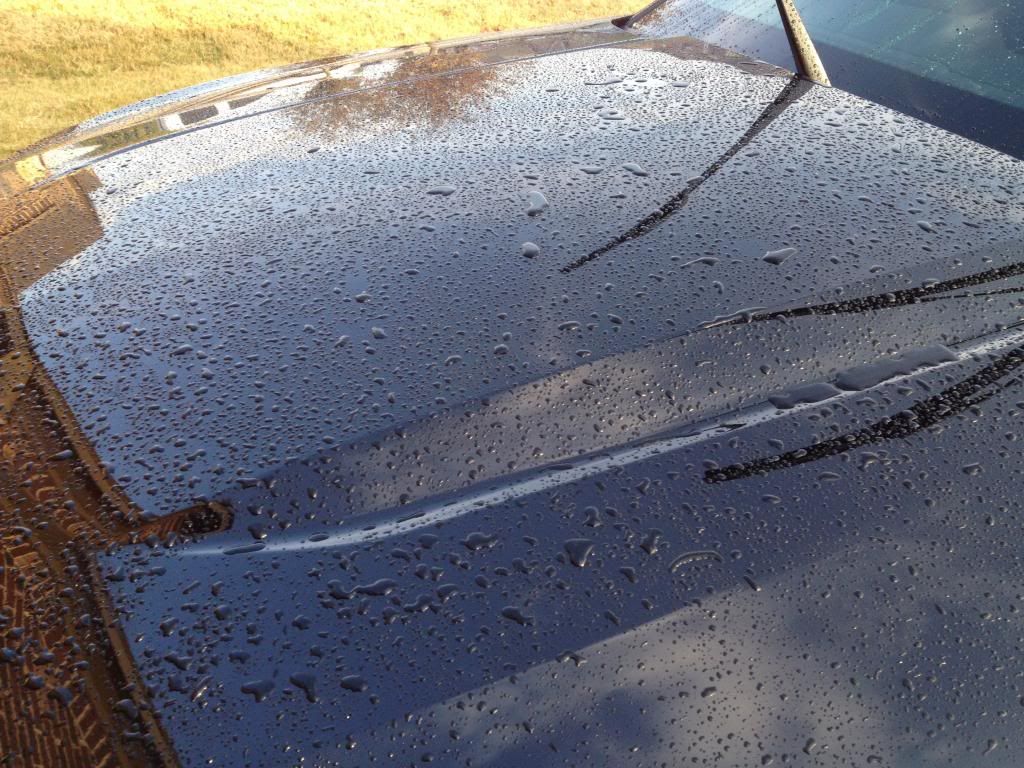
Let the wash begin! I am using dawn to cut through any tough grime as well as remove any left over wax / sealants on the paint to start from the bare paint. As you can see the water on the top of the car is hardly beading at all, signs of a needed coat of wax / sealant.


3.)
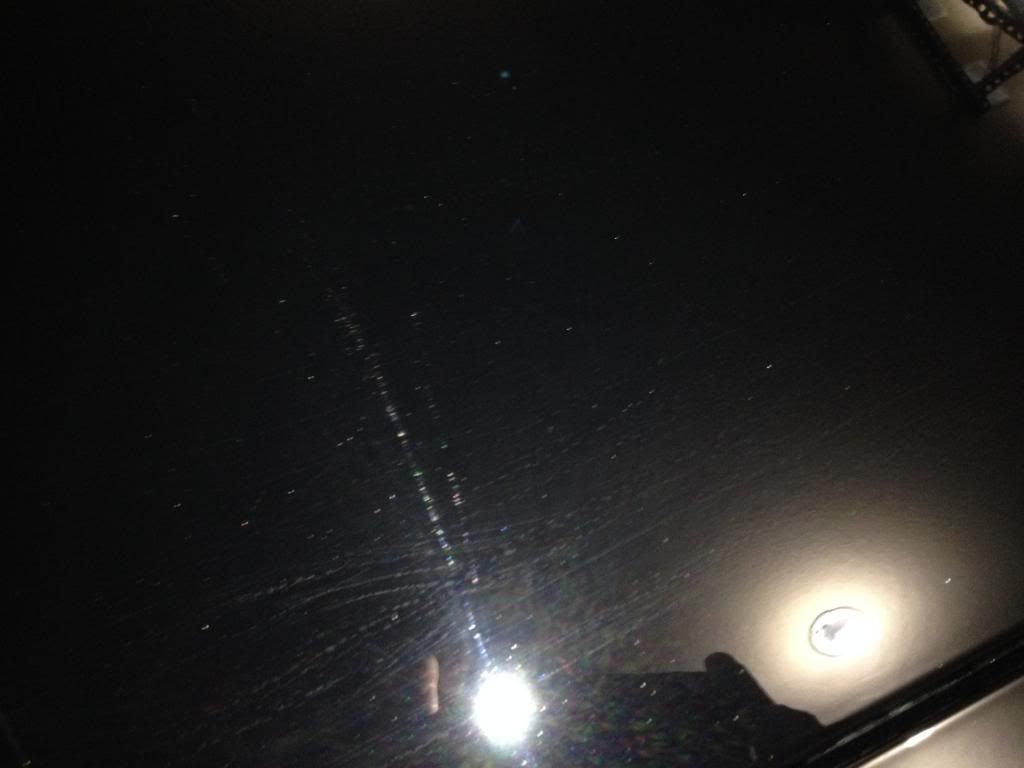
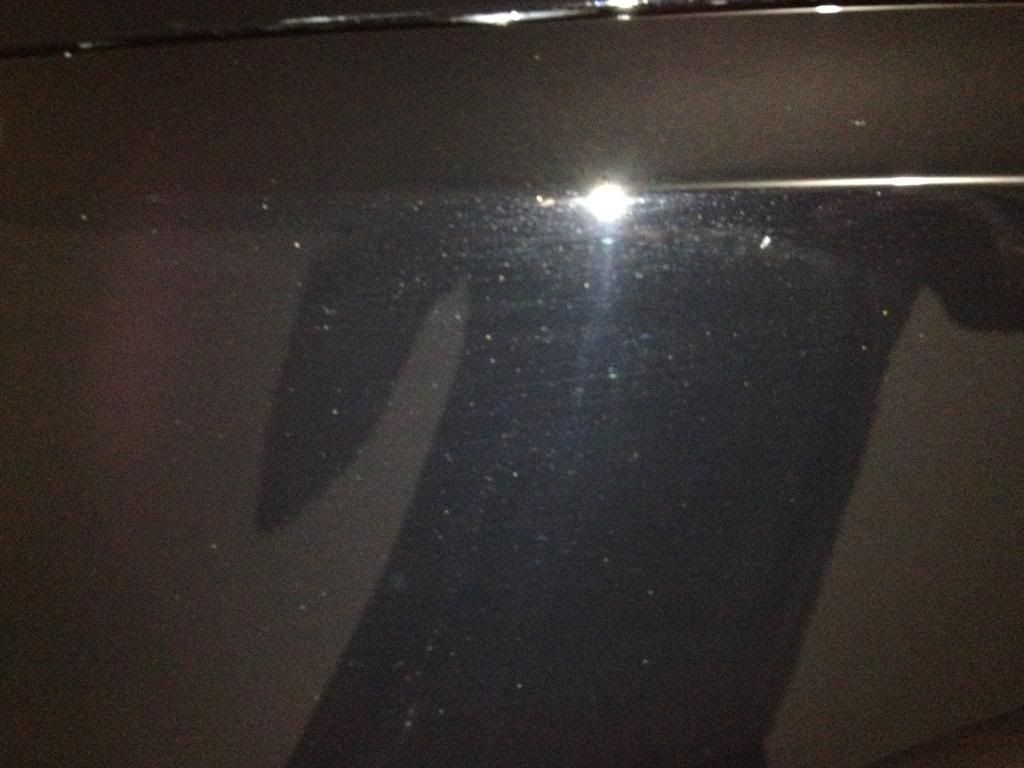
Pulled into the garage to start the fun and where it stays for the next several days. Just some shots here of the paint before any treatments at all.
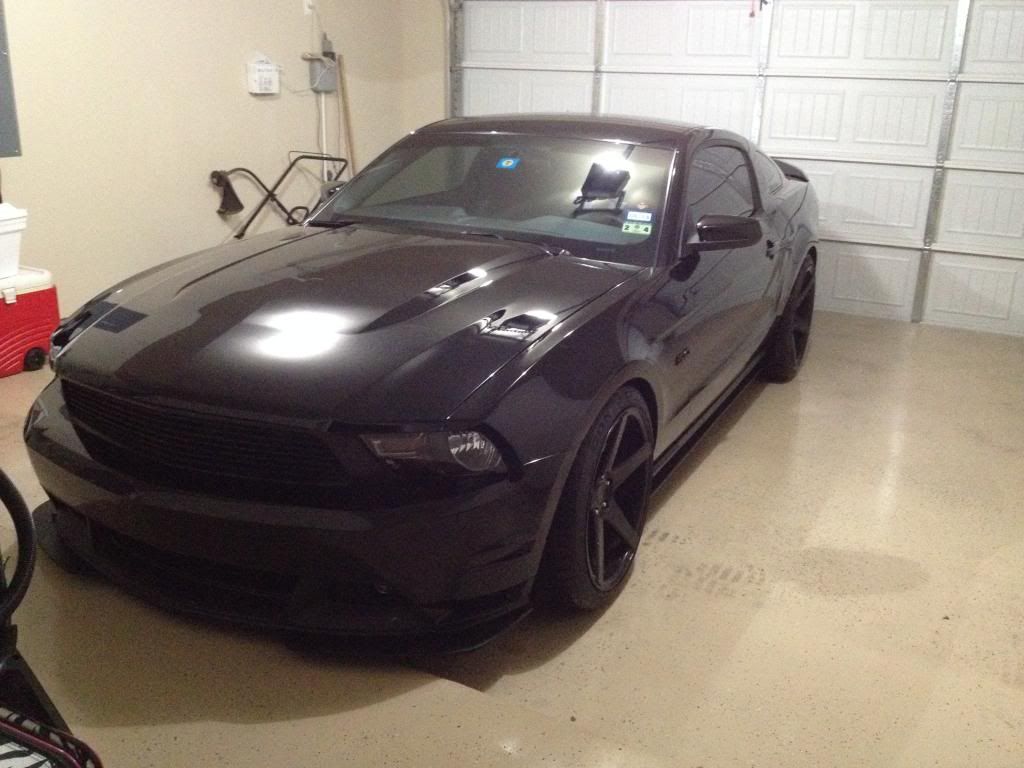
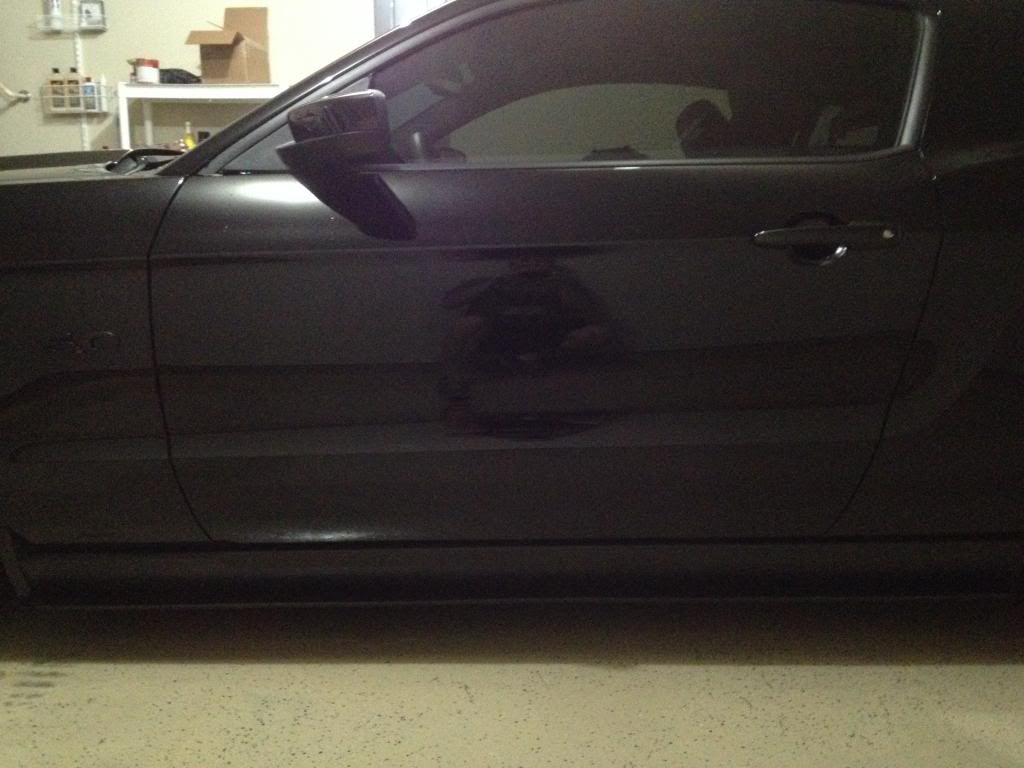


Some definite contamination in the paint:


4.)
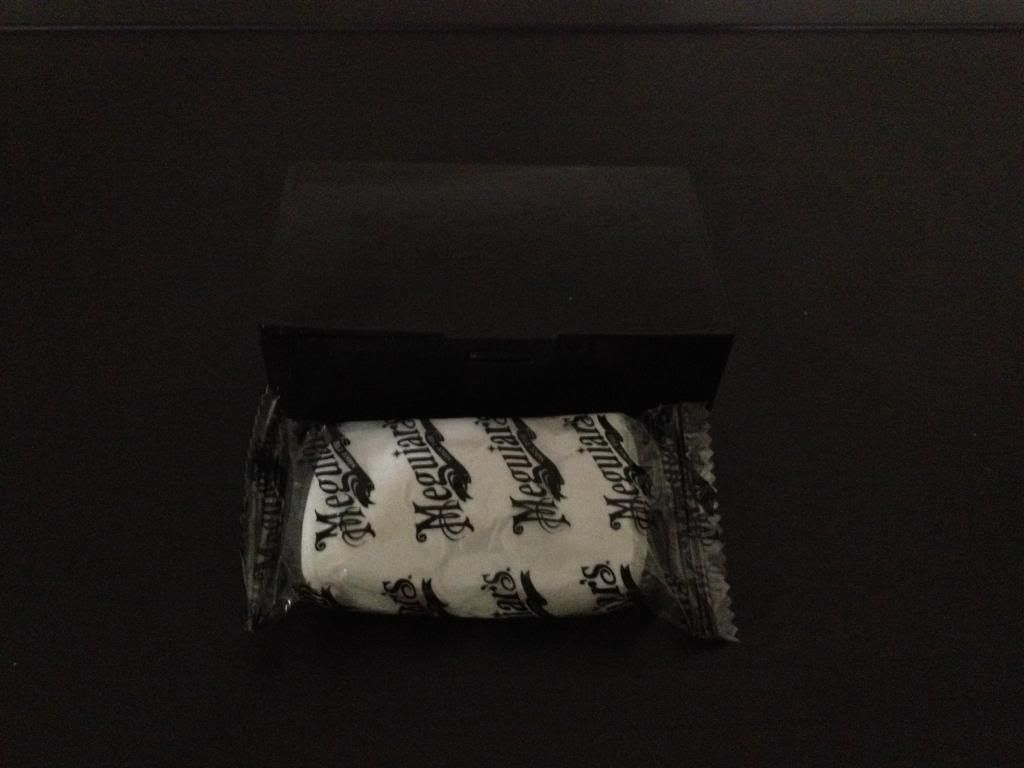
On with the clay bar! I basically used what I had here as my paint was dirty but its received two clay baring sessions in the past year so I didn't need to get really aggressive with this part, just something to simply clean the surface in preparation for polishing. So I just used a megs kit I had left over:


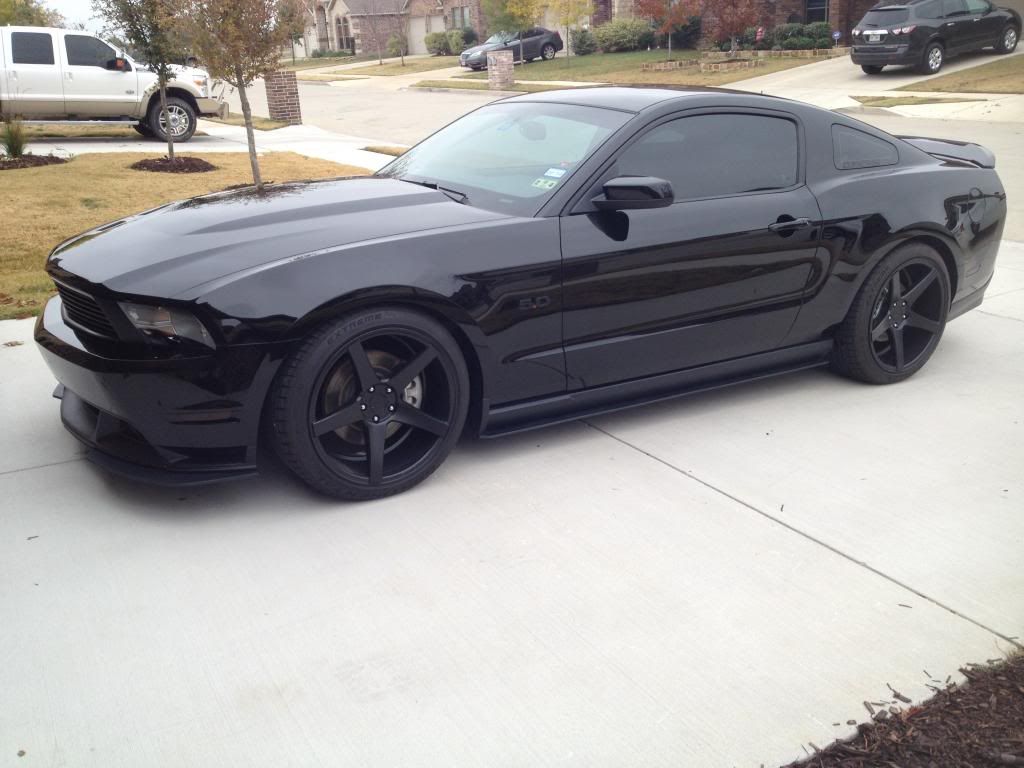
There really isn't much to see with clay baring so here are the post pics with t he paint cleaned up. Now smooth as glass! I backed it out of the garage one last time to take some pics before moving it back in for the next few days.


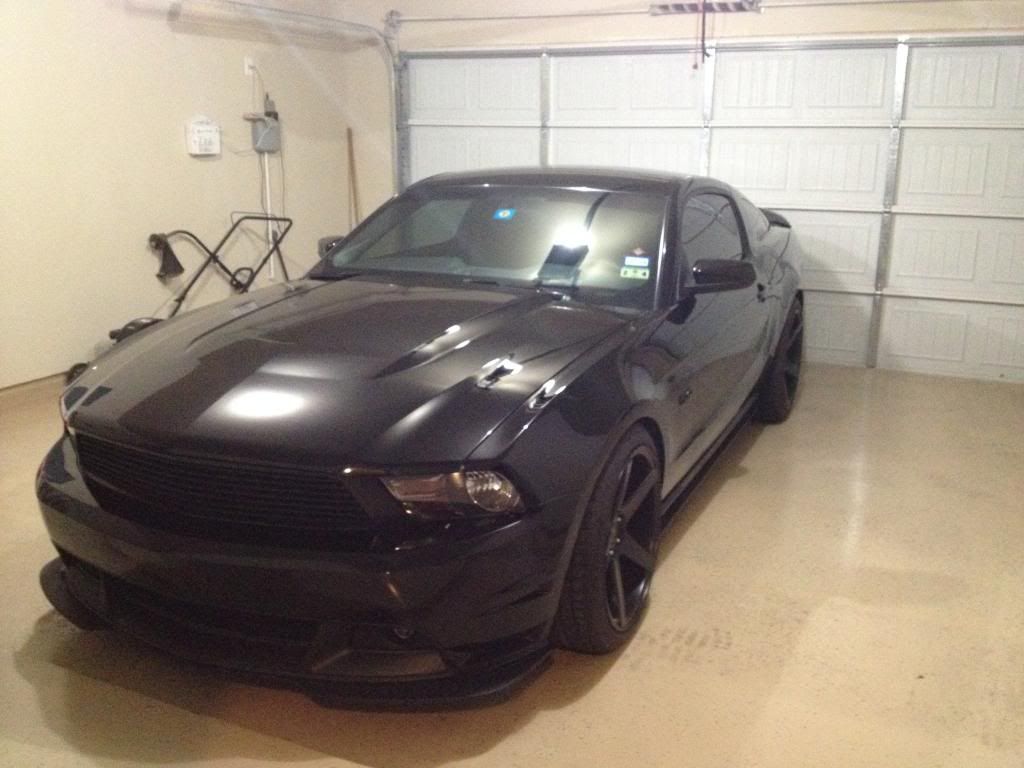
In for the night. Polishing begins tomorrow:


5.)
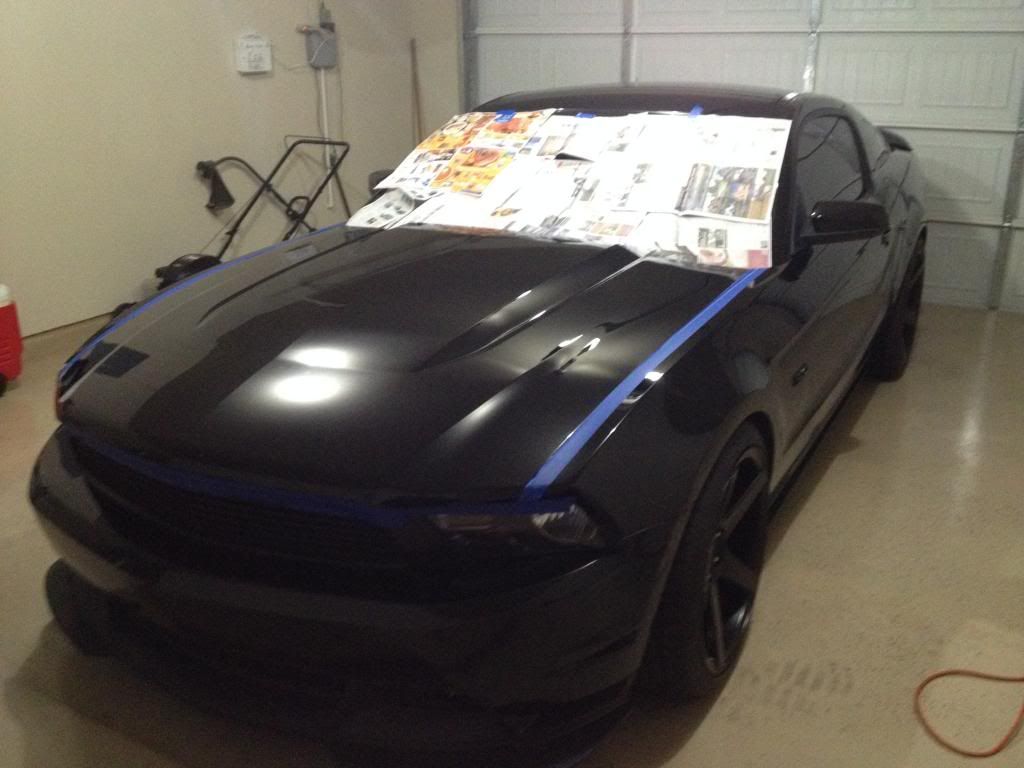
Taping off the body lines where panels meet in preparation for polish. The megs kit 105 compound makes a lot of dust when polishing so I like to tape off as much as possible to prevent wax dust from getting in areas that are hard to remove it from.


6.)
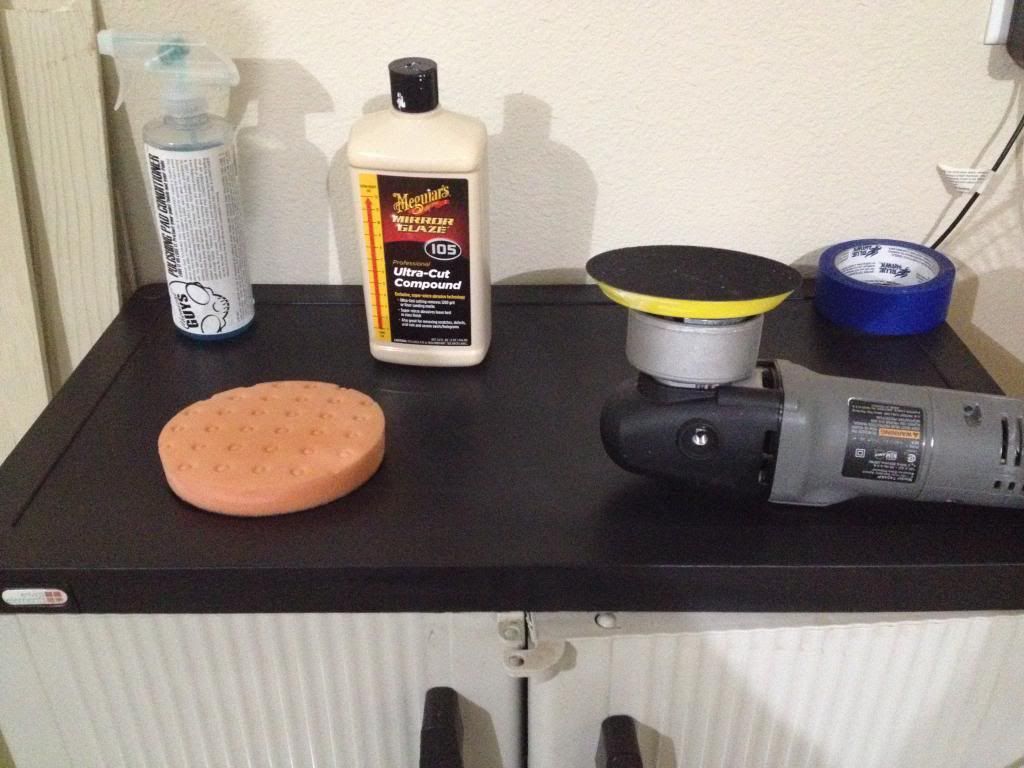
The first round of the arsenal:

* Megs 105 Ultra Cut Compound, designed for removing swirls and other minor defects like oxidation, and mild scratches.
* Lake County 'Orange' 6.5" polishing pad for light-medium cutting applications.
* Porter Cable 7424 XP Dual action Orbital Polisher
* Some Pad conditioner from Chemical guys to prime the pad. This is an important step as it restores the intended condition of the pad as well as prevents any dry polishing so you don't burn your paint.


7.)
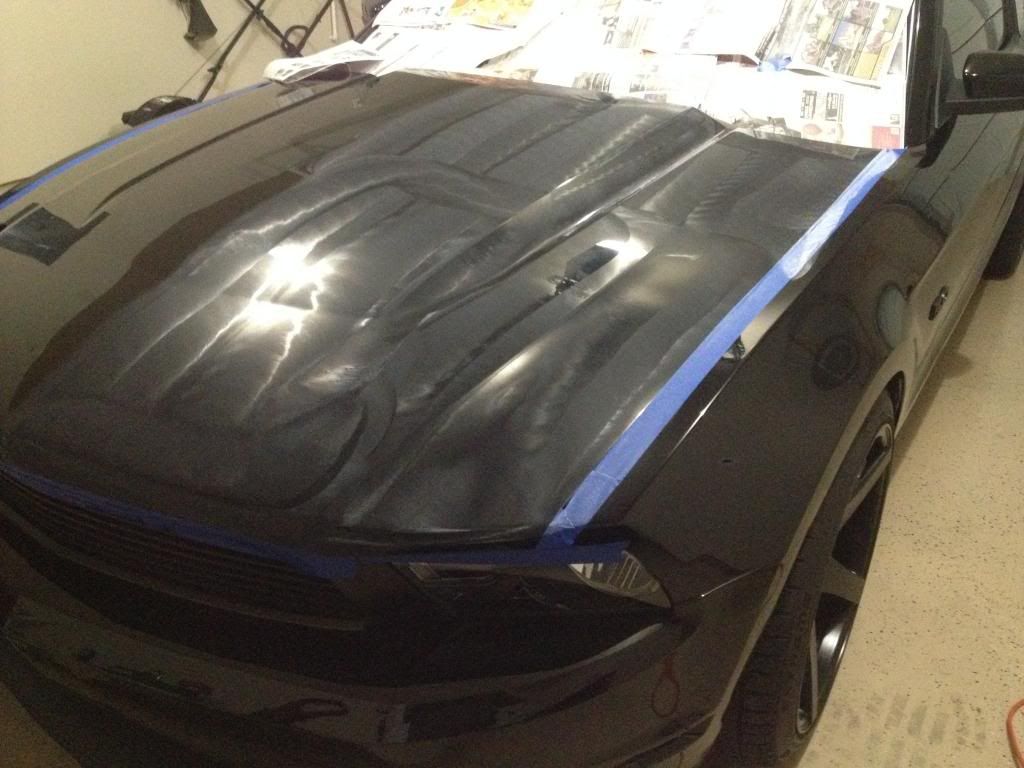
Let the polishing begin!

This is simply just a picture to show you the polish being applied. To cover this amount of space I actually separated the polishing effort into 4 sections to achieve coverage of half of my hood as seen here. Its best to buff off each round as you go with this compound because the more dry it gets the harder it becomes to buff off.


8.)
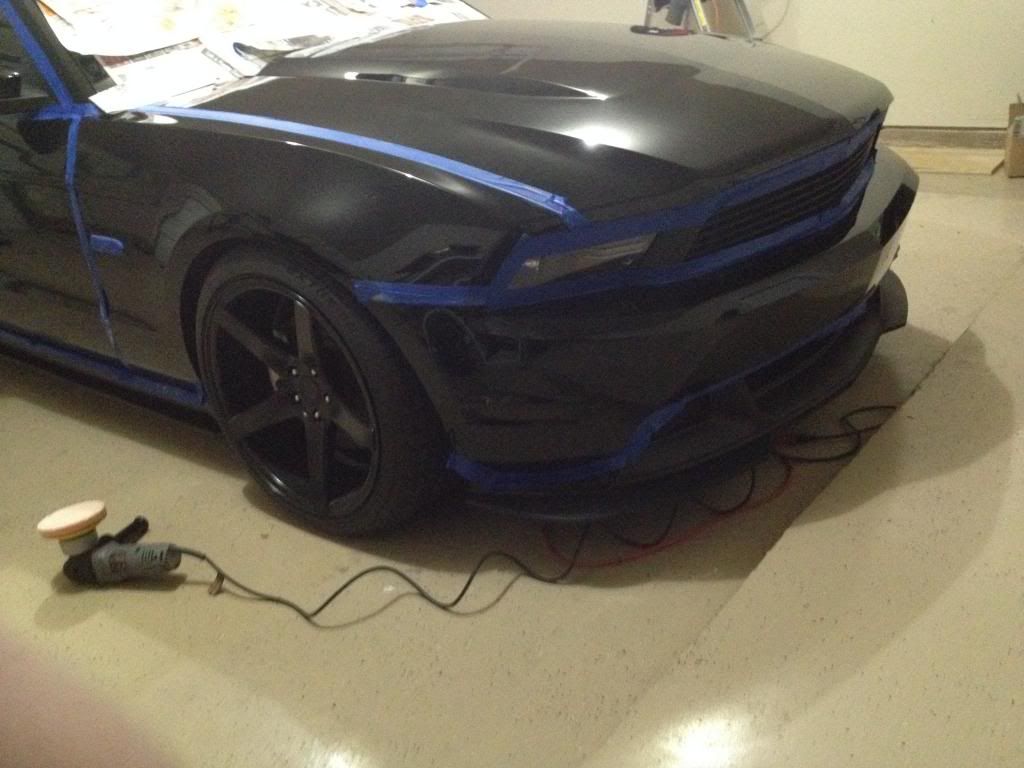
More taping off as I move to each new section. Getting this polish on the plastic pieces is a giant pain to remove.


9.)
Some pics of the first round of polishing completed. This took me about 4-5 hours to cover the entire car. Easily the most exhausting part of the job.
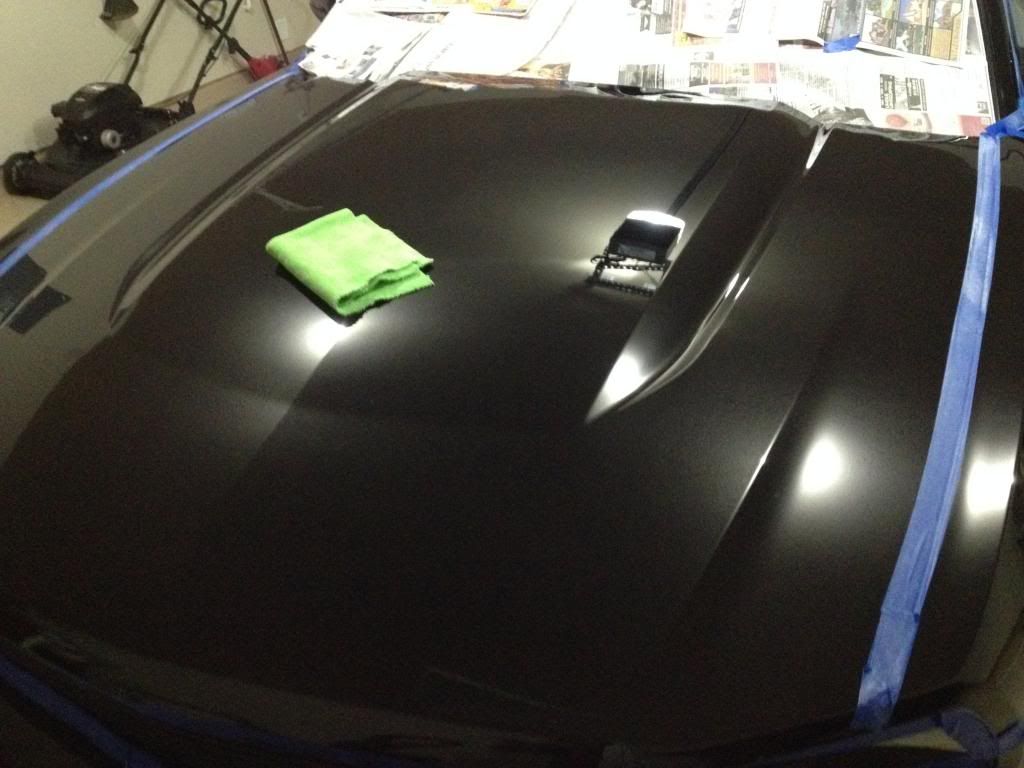
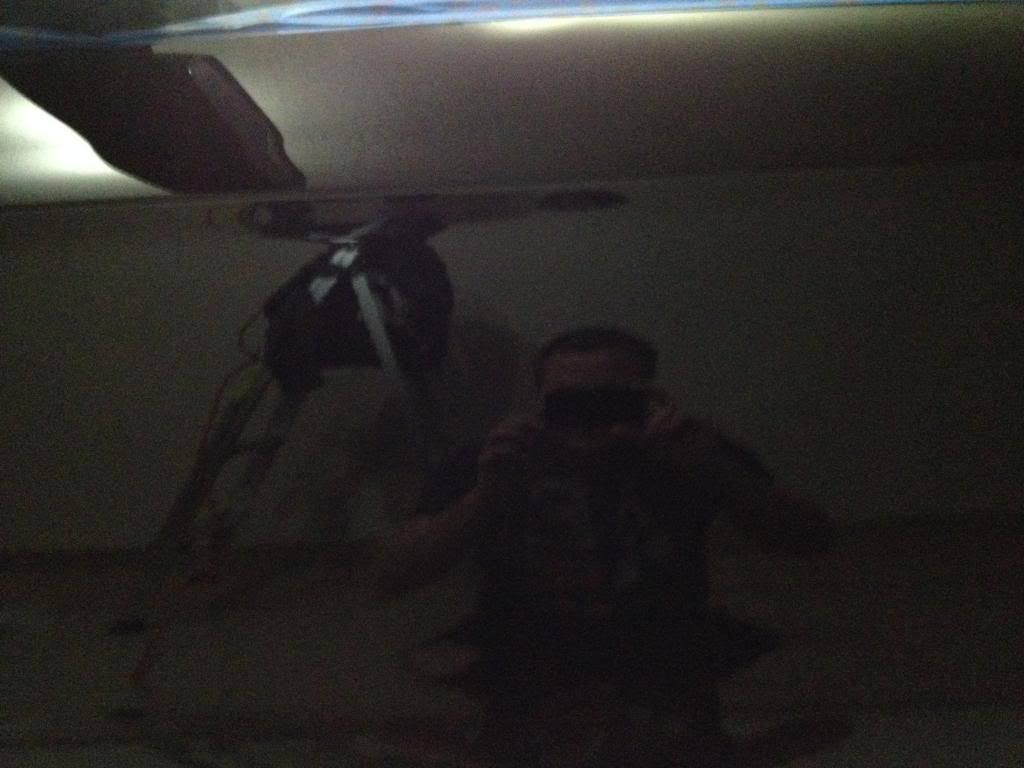


10.)
Second round of polishing:
* Megs 205 finishing compound
* Lake Country 6.5" Finishing Pad

Note: I used a total of 4 pads each on the car. Half the car was polished on each pad before discarding them. The more they become saturated with the polishing compound the less effective they are.
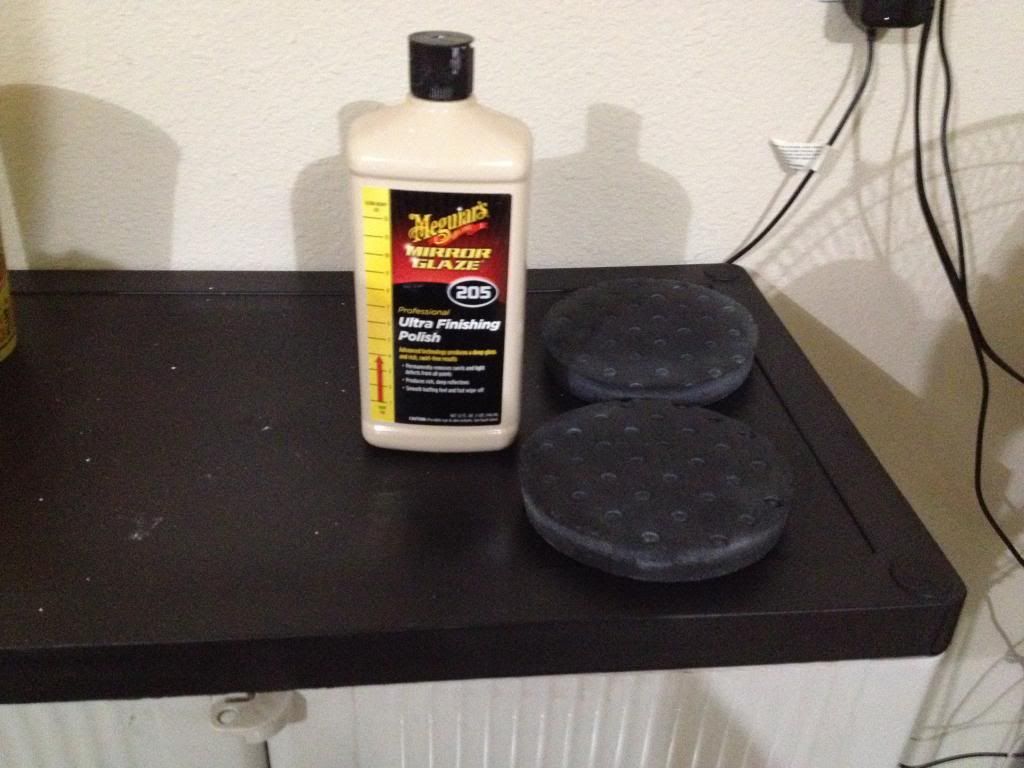


11.)
Progress of the 205 compound:
This is a much easier compound to work with than the 105. You can do larger sections and work faster and it creates zero dust. This part took me only 2 hours to complete

At this point I removed all the tape because it was no longer needed.
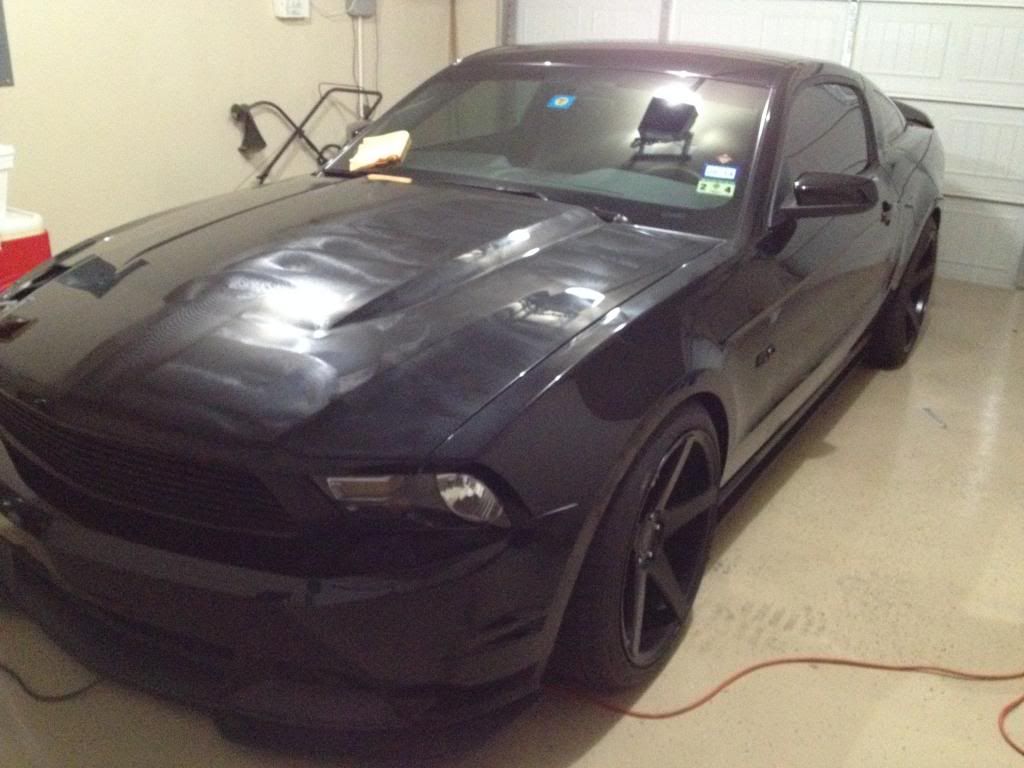


12.)
Post finishing compound pic:
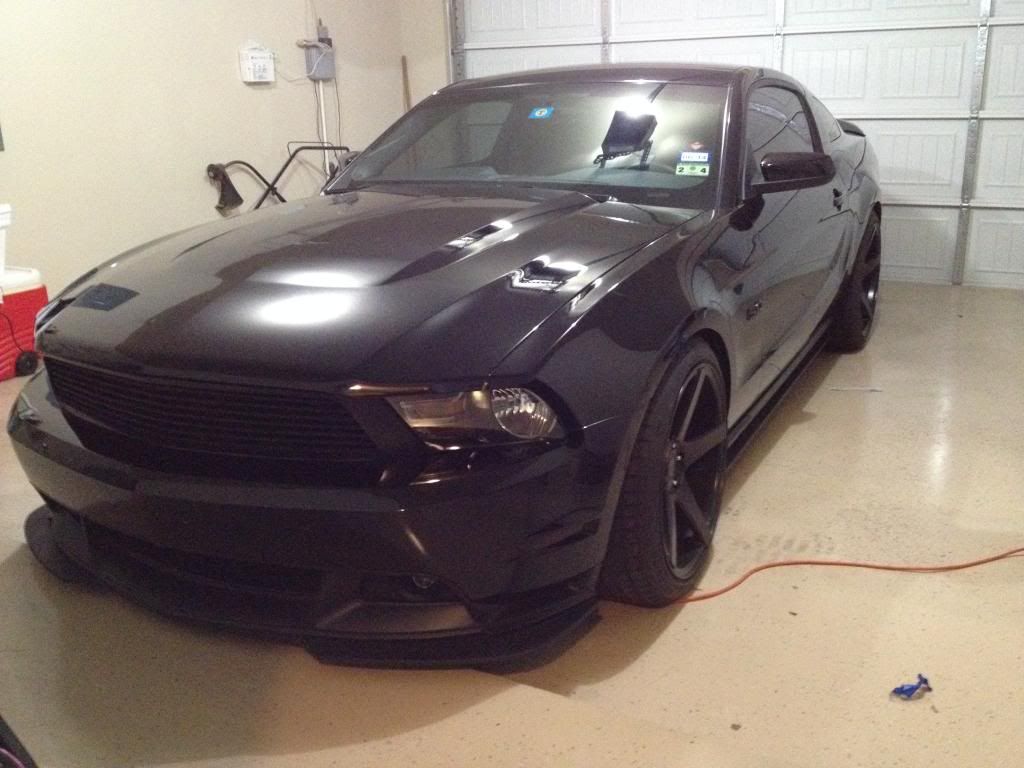


To be continued on next post...
__________________

Airaid CAI | Borla S-Type Catback | Amsoil 10w30 and MTG Trans. Fluid
382hp 387ft/lb | 1/4: 12.9 @ 112mph

Last edited by Dan12GT; 11-26-2013 at 07:58 PM.
Dan12GT is offline   Reply With Quote
Old 11-26-2013, 07:40 PM   #2
Dan12GT
Senior Member
 
Dan12GT's Avatar
 
Join Date: Jul 2012
Location: Roanoke, Texas
Age: 39
Posts: 818
Default

13.)
On with the Zaino!


To add some protection to my paint I wanted to treat it to some Zaino as it offers huge levels of protection as well as it is very easy to apply as a top layer of polish.


As seen in the picture is a bottle of their Z2 compound which is designed to be simply applied and buffed away. It is best used if layered. The small box is a kit to apply a hardener so the polish can be layered a number of times on top of each other. One layer can easily be applied with 10-15 minutes. It should not sit any longer than 15 minutes before buffed away so as the last bit is applied the first bits can be buffed off in rotation from oldest applied polish to newest.

This is paired up with the Zaino Z6 quick detail spray to clean up any residue from the first round of Zaino Z2 as well as make the surface slick and easier and more efficient to apply further layers of Z2.

In total I applied 3 layers of Z2 and 3 layers of Z6.

Some after Pics of the Zaino:


As you can see I mixed up way too much of the Zaino. The small bottle is what I used the polish from as it was mixed with the hardener; I only originally filled it half way. I could have done 2-3 more cars I forgot how easily this stuff is used. Oh well, a note for the future I guess:


14.)
Still some more Zaino. This product I have never tried so I figured what the heck. It is revered as being the best sealant spray they have, not a quick detail spray. Boy did I love it. I didn't really see much added clarity / depth added but this enhanced the surface slickness like 10 fold! Makes me feel good about dirt / water just washing away easily. Also I was able to cover the entire car in under 20 sprays from the bottle.


15.)
Some final pics before the Clear Seal:

ZERO swirls or haze. You can actually see that even the black has a bit of a metallic flake to it. Those spots are not dirt but deeply revealed flake in the paint, its present throughout the entire vehicle, only really visible with a bright light.


16.)
Final step:

* Zaino Clear Seal.
This product I also have not used yet but have read great things too. It is made to be applied with one of their applicator pads and let dry clear, no buffing away. I am not going to lie I was a bit nervous doing this part as I got the car looking soo darn good I was worried of having to back track. The directions say to use 1/8 oz. I thought that was insane. Upon using it though I found it spread insanely easily 2 squirts from this small bottle did my entire hood.


Some after pics of it going on:
You can kinda see some rainbow looking haze, which is normal for this product.


Depending on how much you use it depends on how long it will dry. This was the final step for the night so I let it sit over night.

I came back the next morning and found it cleared dry is most all places. Zaino suggests to follow up in any area with some z6 spray if you applied too much and it dried hazy. For the most part I did okay. I learned how little goes so far with this product though. I used about 1/4 of an oz. My skills with this product remain to be perfected.

Final pics in next post...
__________________

Airaid CAI | Borla S-Type Catback | Amsoil 10w30 and MTG Trans. Fluid
382hp 387ft/lb | 1/4: 12.9 @ 112mph

Last edited by Dan12GT; 11-26-2013 at 08:06 PM.
Dan12GT is offline   Reply With Quote
Old 11-26-2013, 07:48 PM   #3
Dan12GT
Senior Member
 
Dan12GT's Avatar
 
Join Date: Jul 2012
Location: Roanoke, Texas
Age: 39
Posts: 818
Default

Final stages:

I have yet to touch my wheels. So I jacked the car up on 4 jack stands and removed each wheel for a wash in dawn and the same treatments of zaino Z2 polish, Z8, and Clear Seal. Here is a comparison of a rawly washed wheel and a fully treated wheel:


Before Zaino:


After:


A bit hard to see the difference I know, also I have my iphone camera to blame. The bottom pic thought has a much deeper wet look to it as well as a super slick feel.

I feel this was a very important step as the wheels see a bunch of weather and a treatment should do them very good.


The final product with some nice sunshine today:
I went out driving so it got some dust on it but nothing all that bad and you get the picture


I estimate total hours spent was around 20 hours.
Was it worth the work? Absolutely!!!
__________________

Airaid CAI | Borla S-Type Catback | Amsoil 10w30 and MTG Trans. Fluid
382hp 387ft/lb | 1/4: 12.9 @ 112mph

Last edited by Dan12GT; 11-26-2013 at 09:48 PM.
Dan12GT is offline   Reply With Quote
Old 11-26-2013, 07:53 PM   #4
bird_dog0347
Senior Member
 
Join Date: Aug 2013
Age: 44
Posts: 114
Default

looks great man!
bird_dog0347 is offline   Reply With Quote
Old 11-26-2013, 08:51 PM   #5
maxpayne
Senior Member
 
Join Date: Sep 2012
Posts: 339
Default

That's sick brother. Good job! A lot of work but totally worth it.
__________________
2014 Ford Mustang GT (aka "Vivian") - M6 Stripper. Mods: Strut Tower Brace; Roush ABs; 18" by 10" SVE Drifts with 285 Nitto NT555s.
maxpayne is offline   Reply With Quote
Old 11-26-2013, 10:15 PM   #6
03MachMe
Senior Member
 
03MachMe's Avatar
 
Join Date: Aug 2012
Location: Wylie
Age: 37
Posts: 2,266
Default

Looks good dano. I needed the 105 compound but ill just do it next time.
__________________

2013 Deep Impact Blue GT Premium
386rwhp/383rwtq
03MachMe is offline   Reply With Quote
Old 11-27-2013, 12:01 AM   #7
Dan12GT
Senior Member
 
Dan12GT's Avatar
 
Join Date: Jul 2012
Location: Roanoke, Texas
Age: 39
Posts: 818
Default

Originally Posted by 03MachMe View Post
Looks good dano. I needed the 105 compound but ill just do it next time.
Thanks man! The 105 compound is great and fully does what it should but definitely a lot more difficult to work with. Lots of dust and tougher to buff away. Just be sure to buff it off with each section you do and it should be pretty easy going.
__________________

Airaid CAI | Borla S-Type Catback | Amsoil 10w30 and MTG Trans. Fluid
382hp 387ft/lb | 1/4: 12.9 @ 112mph
Dan12GT is offline   Reply With Quote
Old 11-26-2013, 11:17 PM   #8
merlinmol
Senior Member
 
merlinmol's Avatar
 
Join Date: Nov 2012
Age: 43
Posts: 710
Default

Looking good
__________________
2002 Camaro SS M6 (Daily)
2013 GT: Track Pack, Recaro Seats, Whiteside Customs 2012 SEMA Car "Copper Pony"; Dynocom Industries booth# 20123
Dynocom SEMA Video w/ Car
merlinmol is offline   Reply With Quote
Old 11-27-2013, 05:35 PM   #9
blownaltered
I have a small penis
 
Join Date: Nov 2012
Location: Making Steve my bitch since 2003
Age: 44
Posts: 1,465
Default

that looks good. That is something I really need to do to my car. The paint has never had a treatment like this and could really use it.
blownaltered is offline   Reply With Quote
Old 11-29-2013, 11:15 AM   #10
Dan12GT
Senior Member
 
Dan12GT's Avatar
 
Join Date: Jul 2012
Location: Roanoke, Texas
Age: 39
Posts: 818
Default

Originally Posted by blownaltered View Post
that looks good. That is something I really need to do to my car. The paint has never had a treatment like this and could really use it.
It's a process for sure but well worth it. Once I wash it soon i'll post some pics of how the water behaves on the paint. Should roll right off and make the process a whole lot easier.
__________________

Airaid CAI | Borla S-Type Catback | Amsoil 10w30 and MTG Trans. Fluid
382hp 387ft/lb | 1/4: 12.9 @ 112mph
Dan12GT is offline   Reply With Quote
Old 12-03-2013, 06:47 PM   #11
BlueBolt
Senior Member
 
Join Date: Oct 2012
Age: 37
Posts: 255
Default

Want to do mine now?


looks great
BlueBolt is offline   Reply With Quote
Old 12-07-2013, 05:50 PM   #12
Dan12GT
Senior Member
 
Dan12GT's Avatar
 
Join Date: Jul 2012
Location: Roanoke, Texas
Age: 39
Posts: 818
Default

Originally Posted by BlueBolt View Post
Want to do mine now?


looks great
Sure! If you are serious PM me and we can work something out!
__________________

Airaid CAI | Borla S-Type Catback | Amsoil 10w30 and MTG Trans. Fluid
382hp 387ft/lb | 1/4: 12.9 @ 112mph
Dan12GT is offline   Reply With Quote
Old 12-10-2013, 01:34 AM   #13
Dominic Toretto
Senior Member
 
Dominic Toretto's Avatar
 
Join Date: Jun 2013
Location: Irving / Oklahoma City
Age: 41
Posts: 1,896
Default

Excellent write up. Thanks for the good info!

-Alex
__________________
2012 GT Premium Hardtop with XX Transmission
Mods page: http://dfw50s.com/showthread.php?t=3376

Ford Racing . Pypes . BMR . CDC . American Muscle . DDM Tuning . BFG . J&M . Amsoil . MMD. JLT
Dominic Toretto is offline   Reply With Quote
Old 01-09-2014, 12:52 PM   #14
The Joker
Member
 
Join Date: Mar 2013
Age: 53
Posts: 31
Default

Man that looks good. Thanks for info. Mine needs to be done bad.
The Joker is offline   Reply With Quote
Old 01-09-2014, 01:47 PM   #15
DirtyD
Senior Member
 
Join Date: Jun 2012
Posts: 5,594
Default

Man. I want to do this so bad, but I need a bigger garage to do it myself.
DirtyD is offline   Reply With Quote
Reply

Bookmarks


Posting Rules
You may not post new threads
You may not post replies
You may not post attachments
You may not edit your posts

BB code is On
Smilies are On
[IMG] code is On
HTML code is Off

Forum Jump