Hey guys... I finally had some spare time to install my catch can set up, so far i have done two, one on my boys Procharged 5.0 and on my own car, here is a write up on the install including all the parts needed to do so...
OK... Here we go...
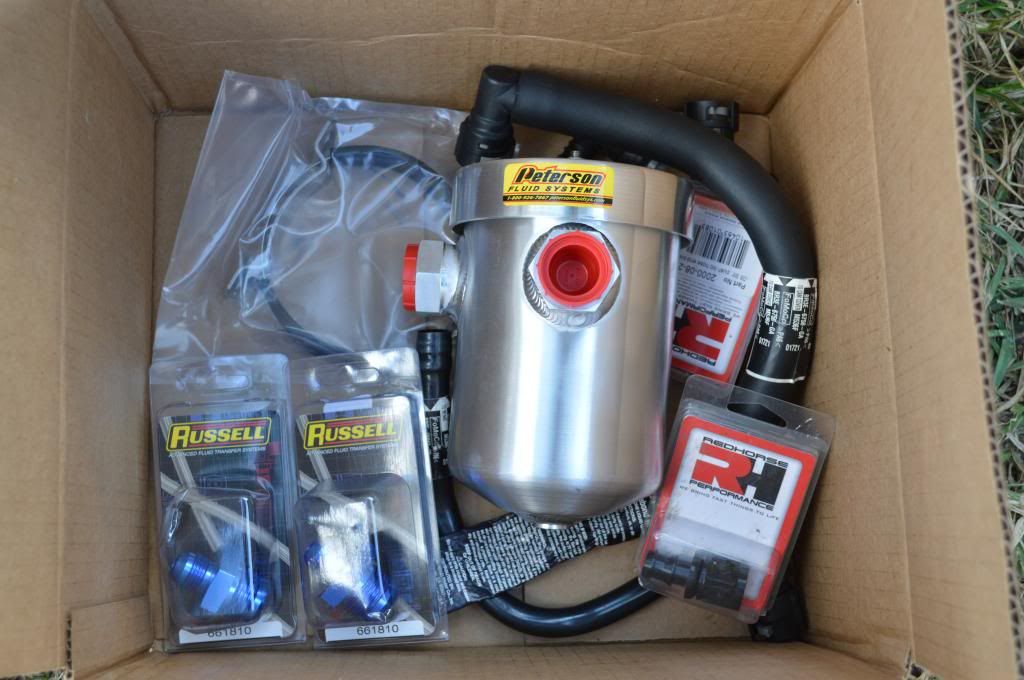
Parts List
1. Peterson Fluid System can # 08-0400
2. AN Male Reducer -12 to -8 (Fragola # 491919) x2
3. -8 Push Lite hose ends (Fragola # 200108BL) x2
4. about 8 feet of push lock hose (Fragola 8000)
5. 1 inch Heat Shrink x4
You will also need a drill and a Dremel , You can get creative with the set up since fittings come in different colors also try to stay away from stainless steel lines they are like sand paper and will scratch anything that it rubs against.
Here is the box of goodies...
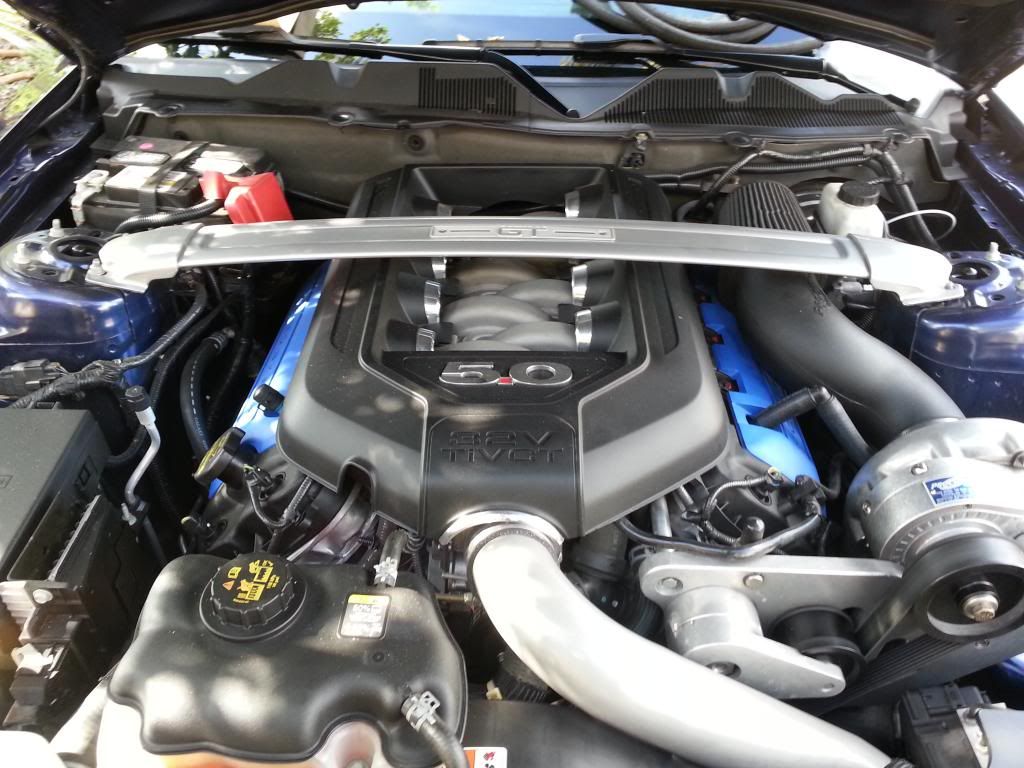
Here is my friends Procharged 5.0 before the install... i will be posting pics of both cars since i have pics on both of the same install.
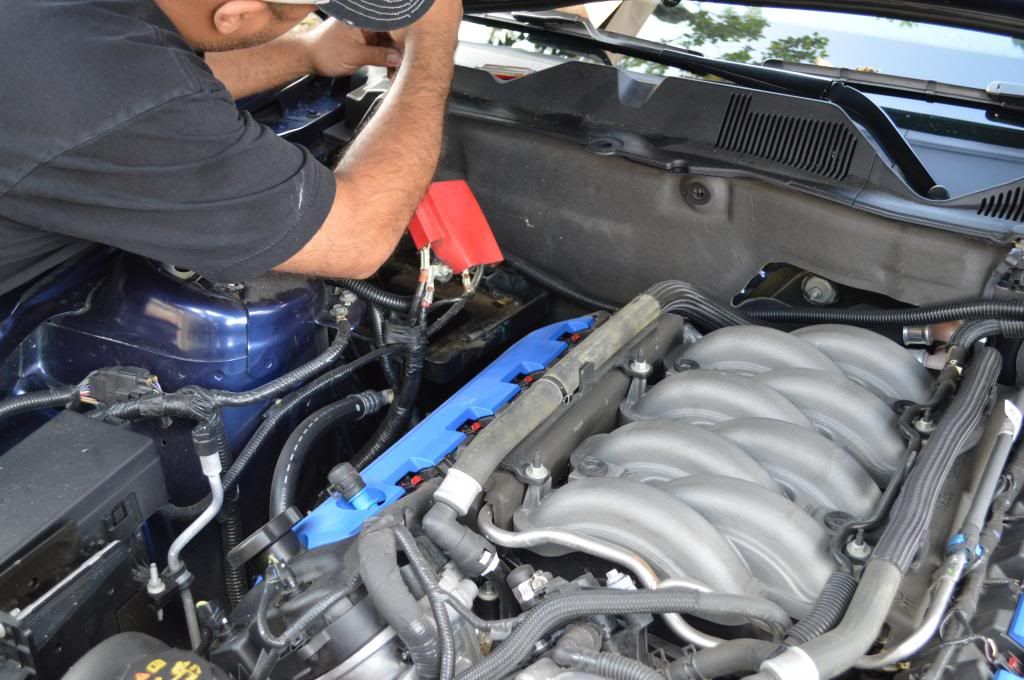
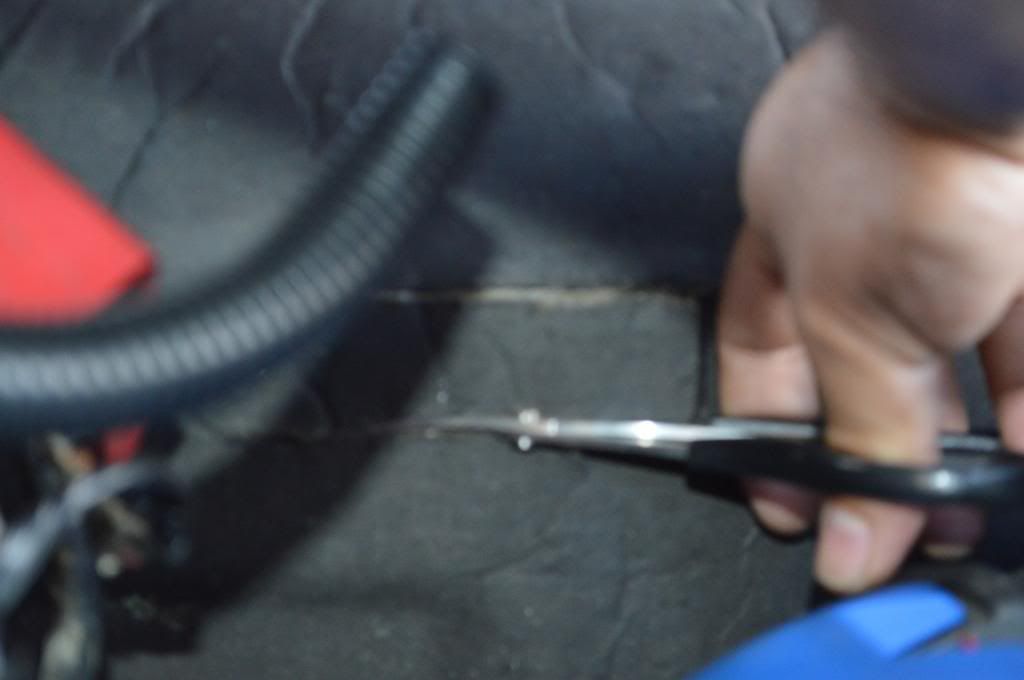
Start by removing the battery and the tray, this will allow you to pull the sound mat forward so you can actually see where you are going to drill the holes for the catch can bracket.
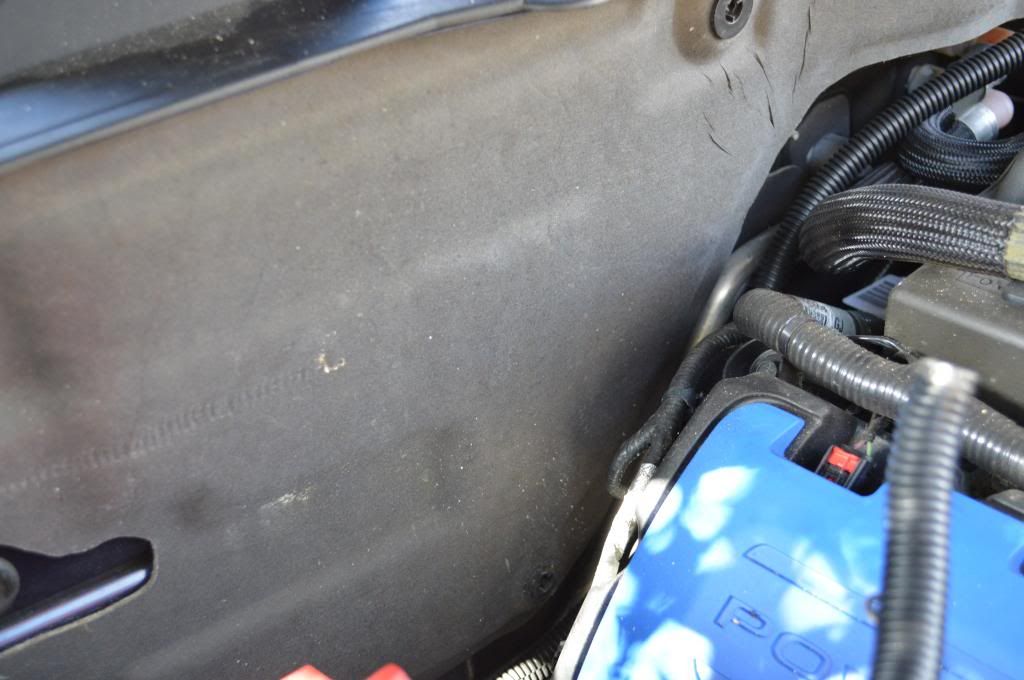
Here is the designated area fo the can, take your time here and make sure it clears the battery and the eng as well.
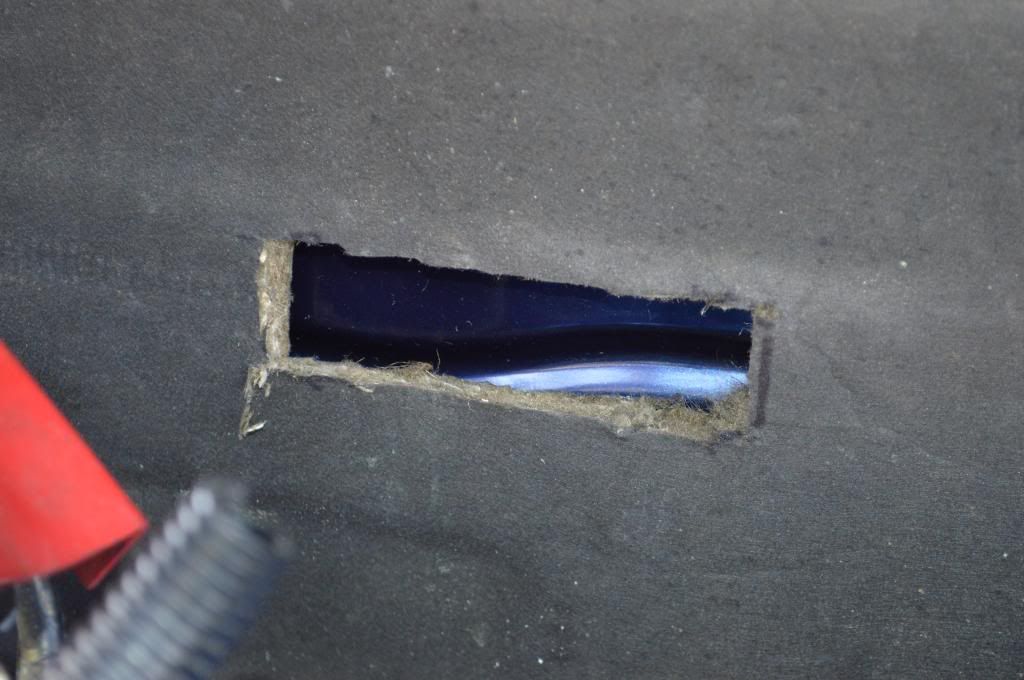
Once we had the spot i cut a piece out for the bracket, i did not do this on my car cuz i used some spacers that i got at ACE hardware that you will see later...
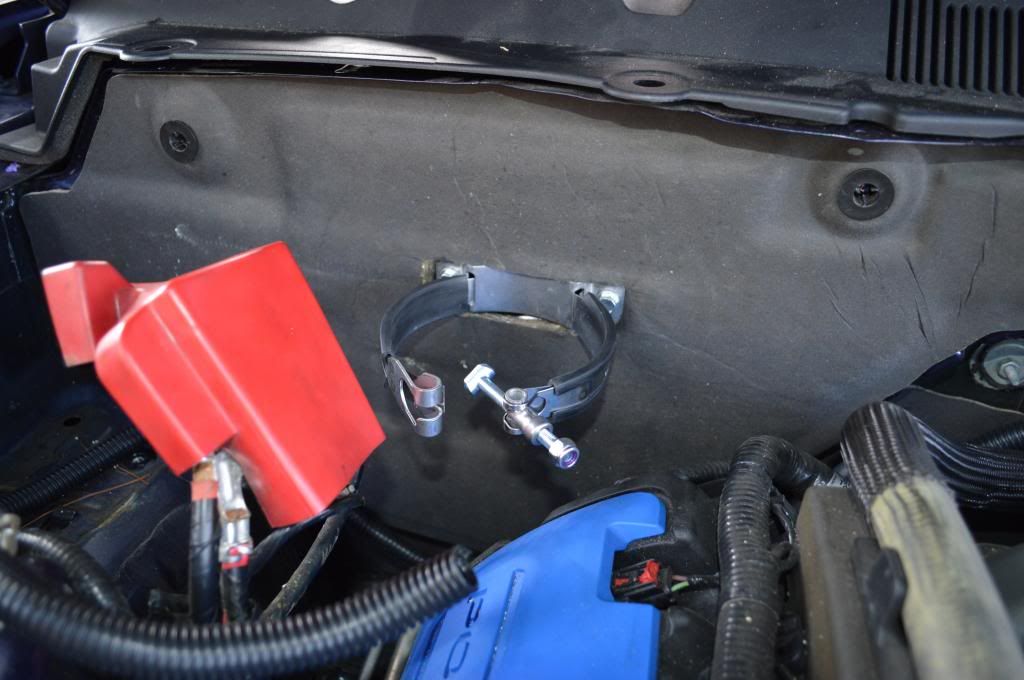
Now get your bracket and mark the holes for drilling and bolt down your bracket, you can lift the plastic cover right under the passengers side wiper to gain access to the bolts you will use to bolt down the bracket.
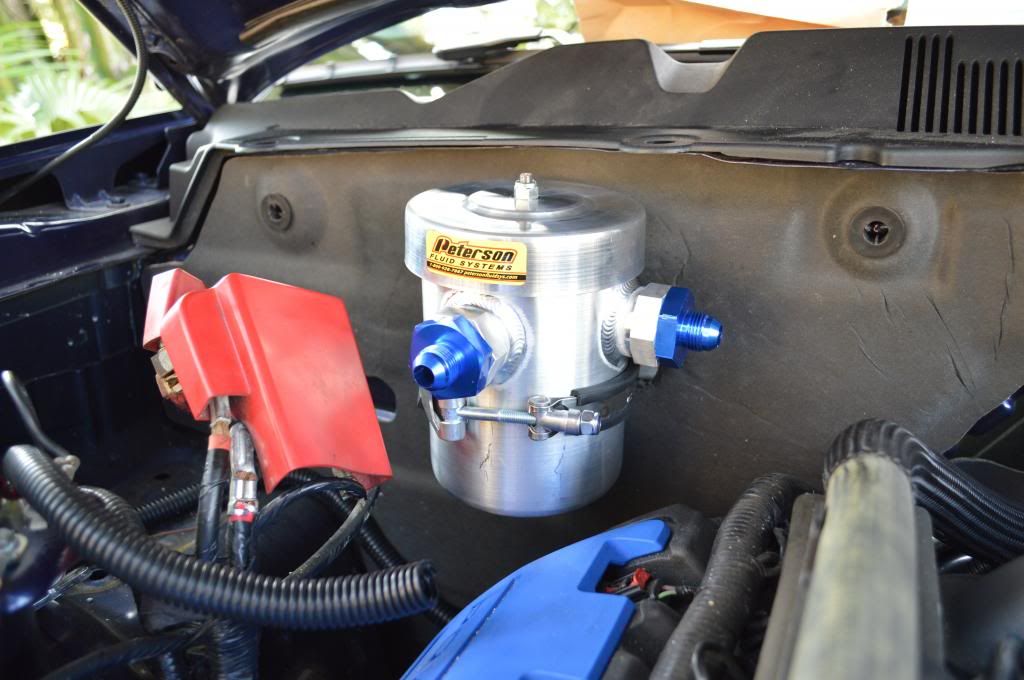
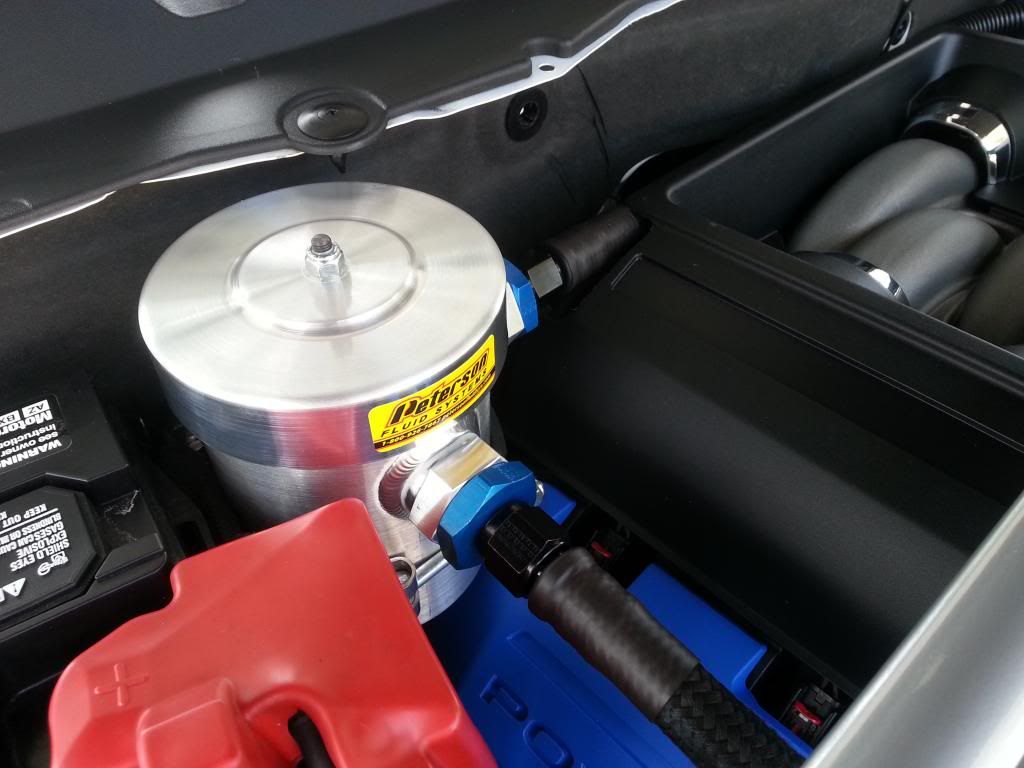
Install the -12 to -8 male reducers on your catch can... go ahead and install your catch can, I am sure you want to see how it looks...lol.
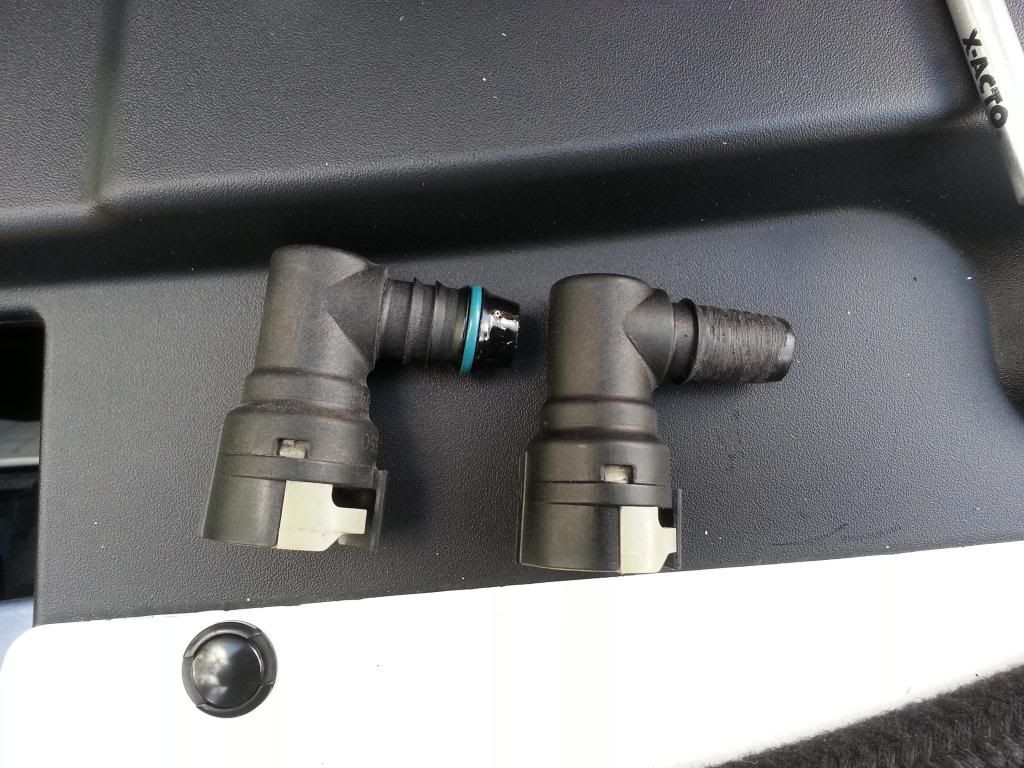
You will need to remove these from your stock plastic hoses, use a blade and cut the hose till it releases, once you have them out you will need to shave the parts as shown it will make your life easier... trust me.
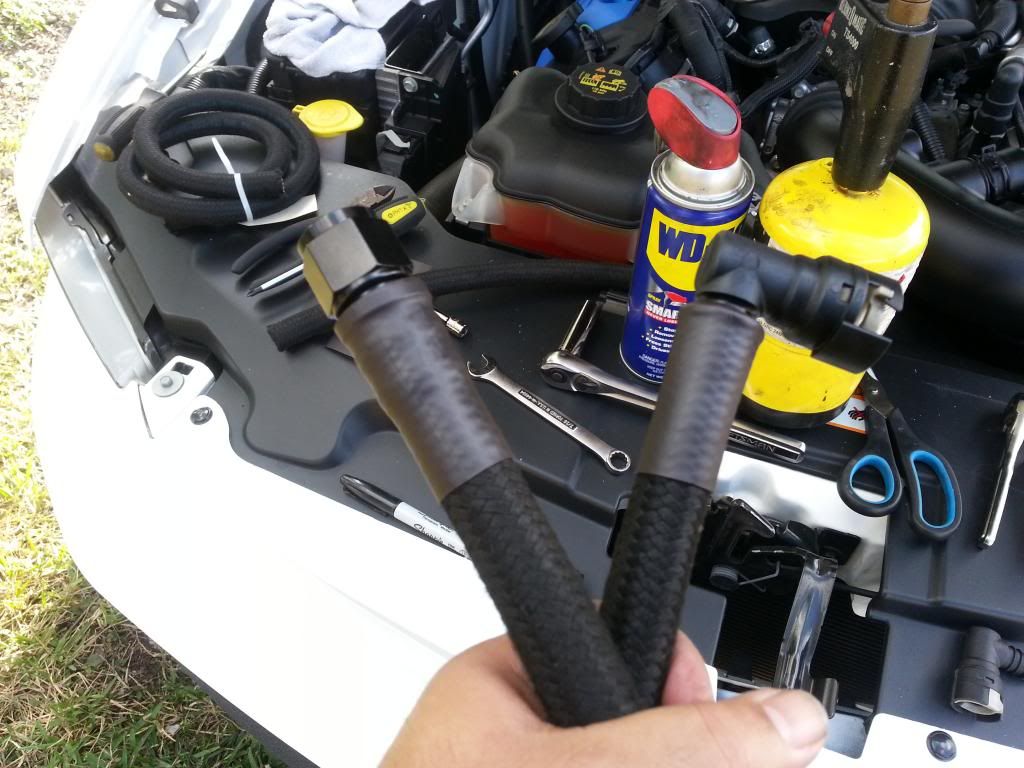
Now you are ready to make your hoses, install the push-lok -8 straight fitting on the hose end and route the hose behind the engine from the can (install on can hand tight) measure and cut to the desired length, take your time here, after you got the hose measured and cut... install the stock 90 degree plastic hose end you just finished modifying...
Here is how it should look...
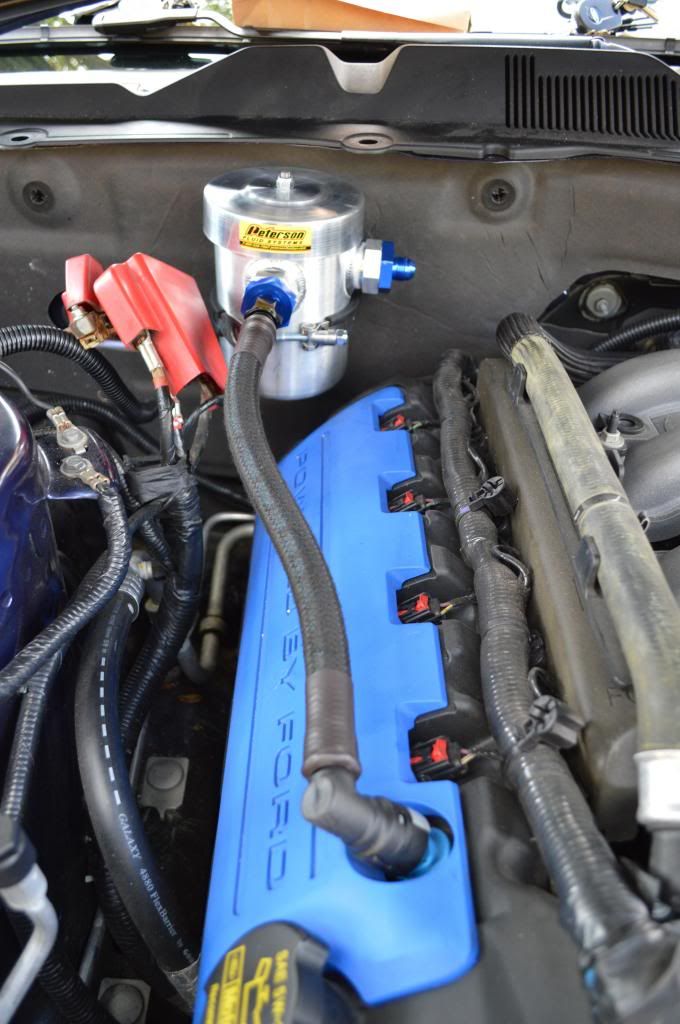
Do the same with your drivers side and you are ready to tighten things down... Here is a pic with the hoses installed.
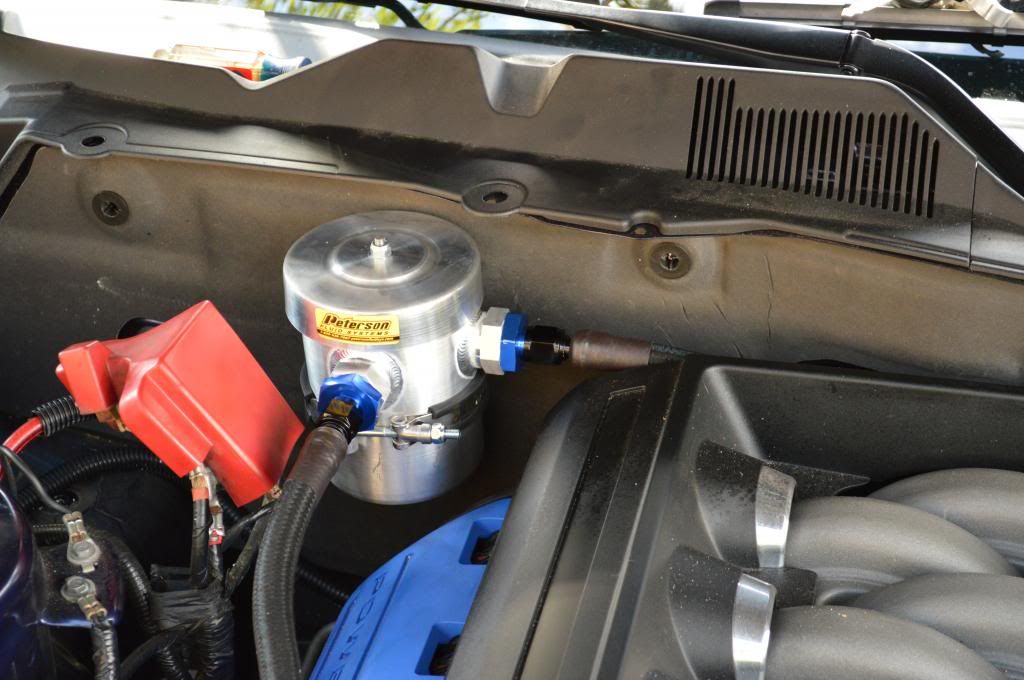
Install your Battery and check for clearance... its going to be tight but if you are worried just get some wire loom and cover the battery wires that are close to the can...
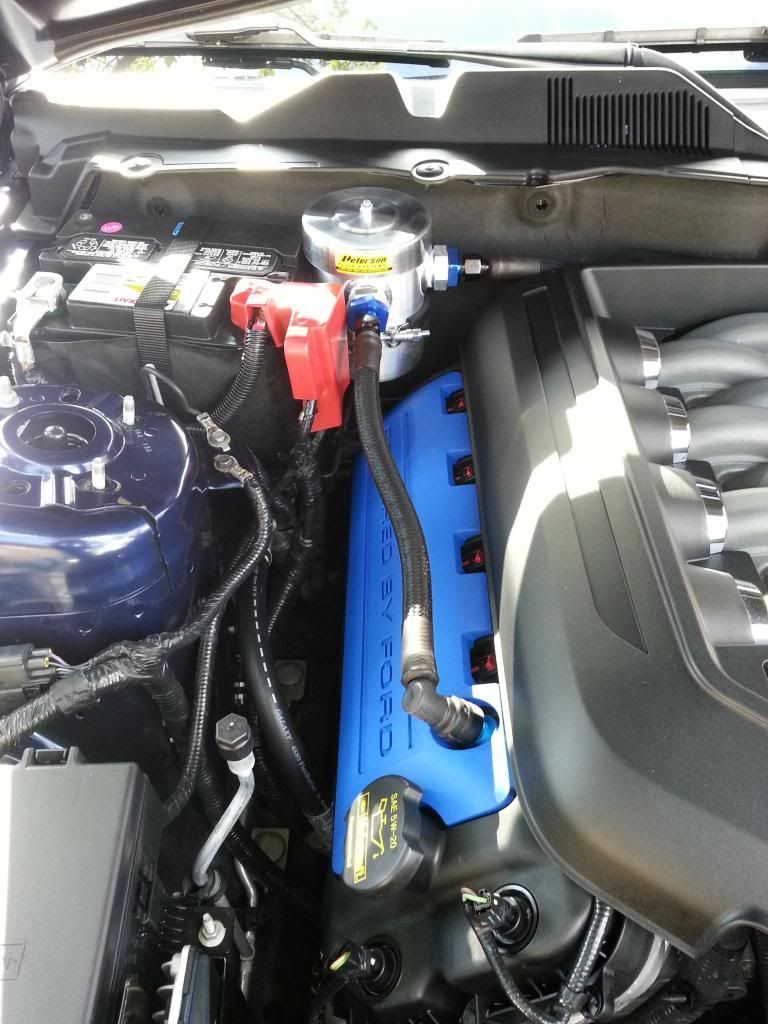
I had some 1 inch spacers on mine and as you can see i had to trim the engine cover to clear the hose....
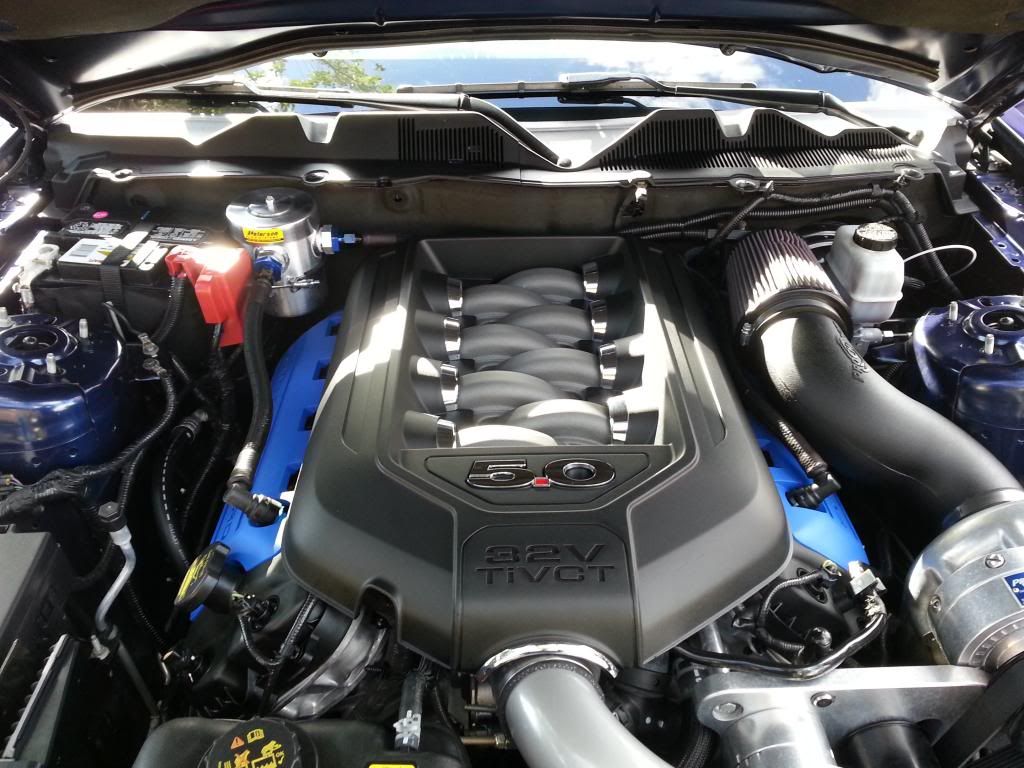
Now sit back and enjoy the view...


 Linear Mode

